Installation Steps for Combine Harvester Gearbox
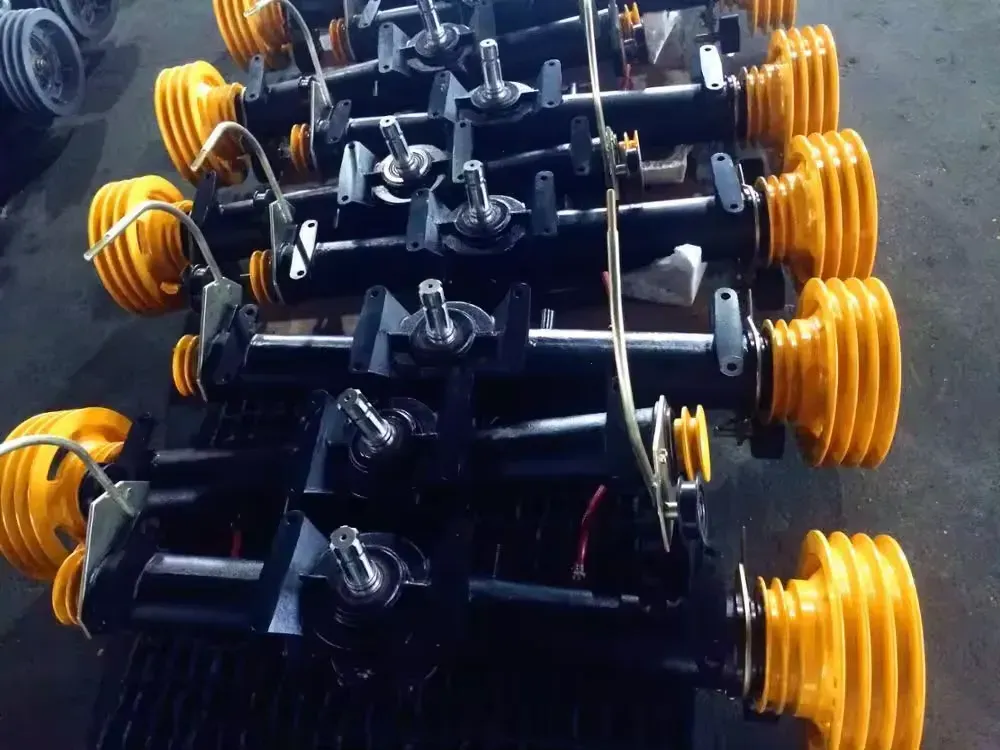
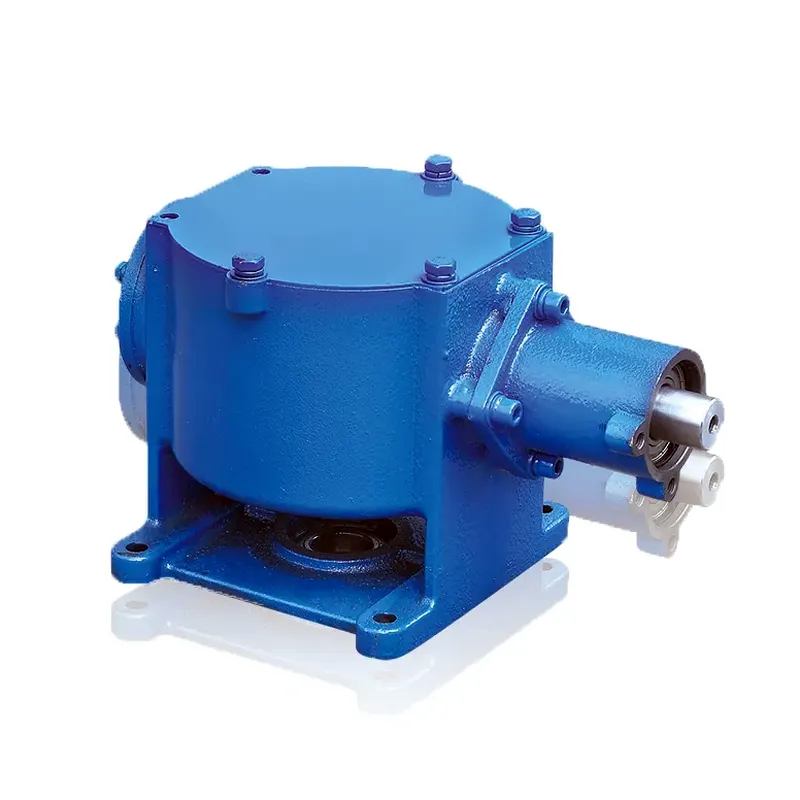
The combine harvester gearbox is an essential component of agricultural grain harvesting machinery, responsible for transferring power from the engine to various mechanical components that execute the harvesting process. Proper installation of the gearbox is crucial to ensure optimal performance and longevity of the equipment. Here are the installation steps for a combine harvester gearbox:
Step 1: Preparation
Before installing the gearbox, ensure that the harvester is securely supported on a stable surface and all safety precautions are in place. Gather the necessary tools and equipment for the installation process.
Step 2: Gearbox Positioning
Position the new gearbox in the designated mounting area on the harvester, ensuring proper alignment with the input and output shafts. Secure the gearbox in place using the appropriate mounting hardware.
Step 3: Shaft Connection
Connect the input shaft of the gearbox to the engine output shaft using the specified coupling or adapter. Ensure that the connection is secure and aligned to prevent any misalignment or issues during operation.
Step 4: Transmission Alignment
Align the transmission gears within the gearbox to ensure smooth engagement and operation. Check for proper gear meshing and adjust as necessary to avoid any potential gear slippage or damage.
Step 5: Lubrication

Fill the gearbox with the recommended lubricant as specified by the manufacturer. Ensure that the gearbox is adequately lubricated to prevent excessive wear and overheating during operation.
Step 6: Testing
Once the gearbox is installed and lubricated, conduct a thorough testing procedure to ensure proper functionality. Test the gearbox under various load conditions to verify its performance and adjust any settings if needed.