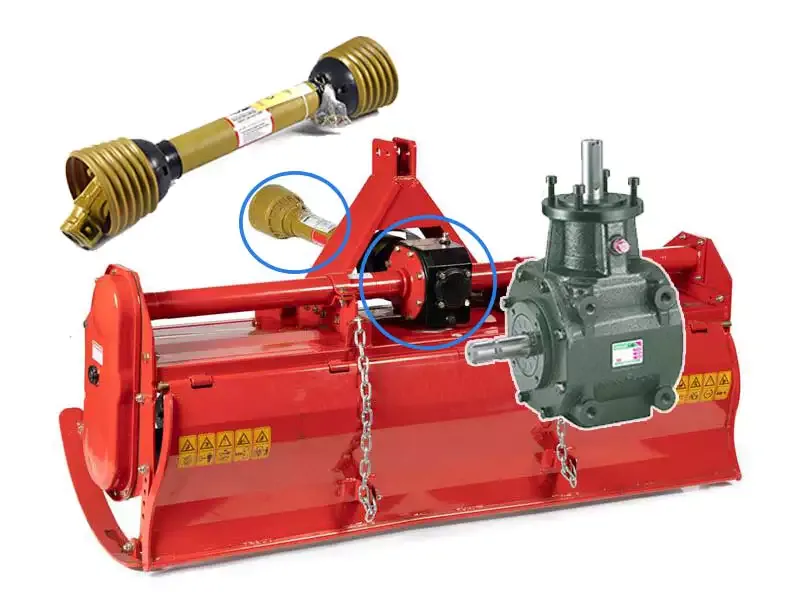
Installation of the PTO Driven Rotary Tiller Gearbox
The PTO driven rotary tiller gearbox is a vital component in agricultural machinery, used to transfer power from the tractor to the rotary tiller. Here is a detailed guide on how to install the gearbox:
1. Proper Alignment:
Before installation, ensure that the gearbox is properly aligned with the tractor's PTO shaft and the rotary tiller. Misalignment can lead to excessive wear and tear on the components. Use alignment tools to ensure precise positioning.
2. Secure Mounting:
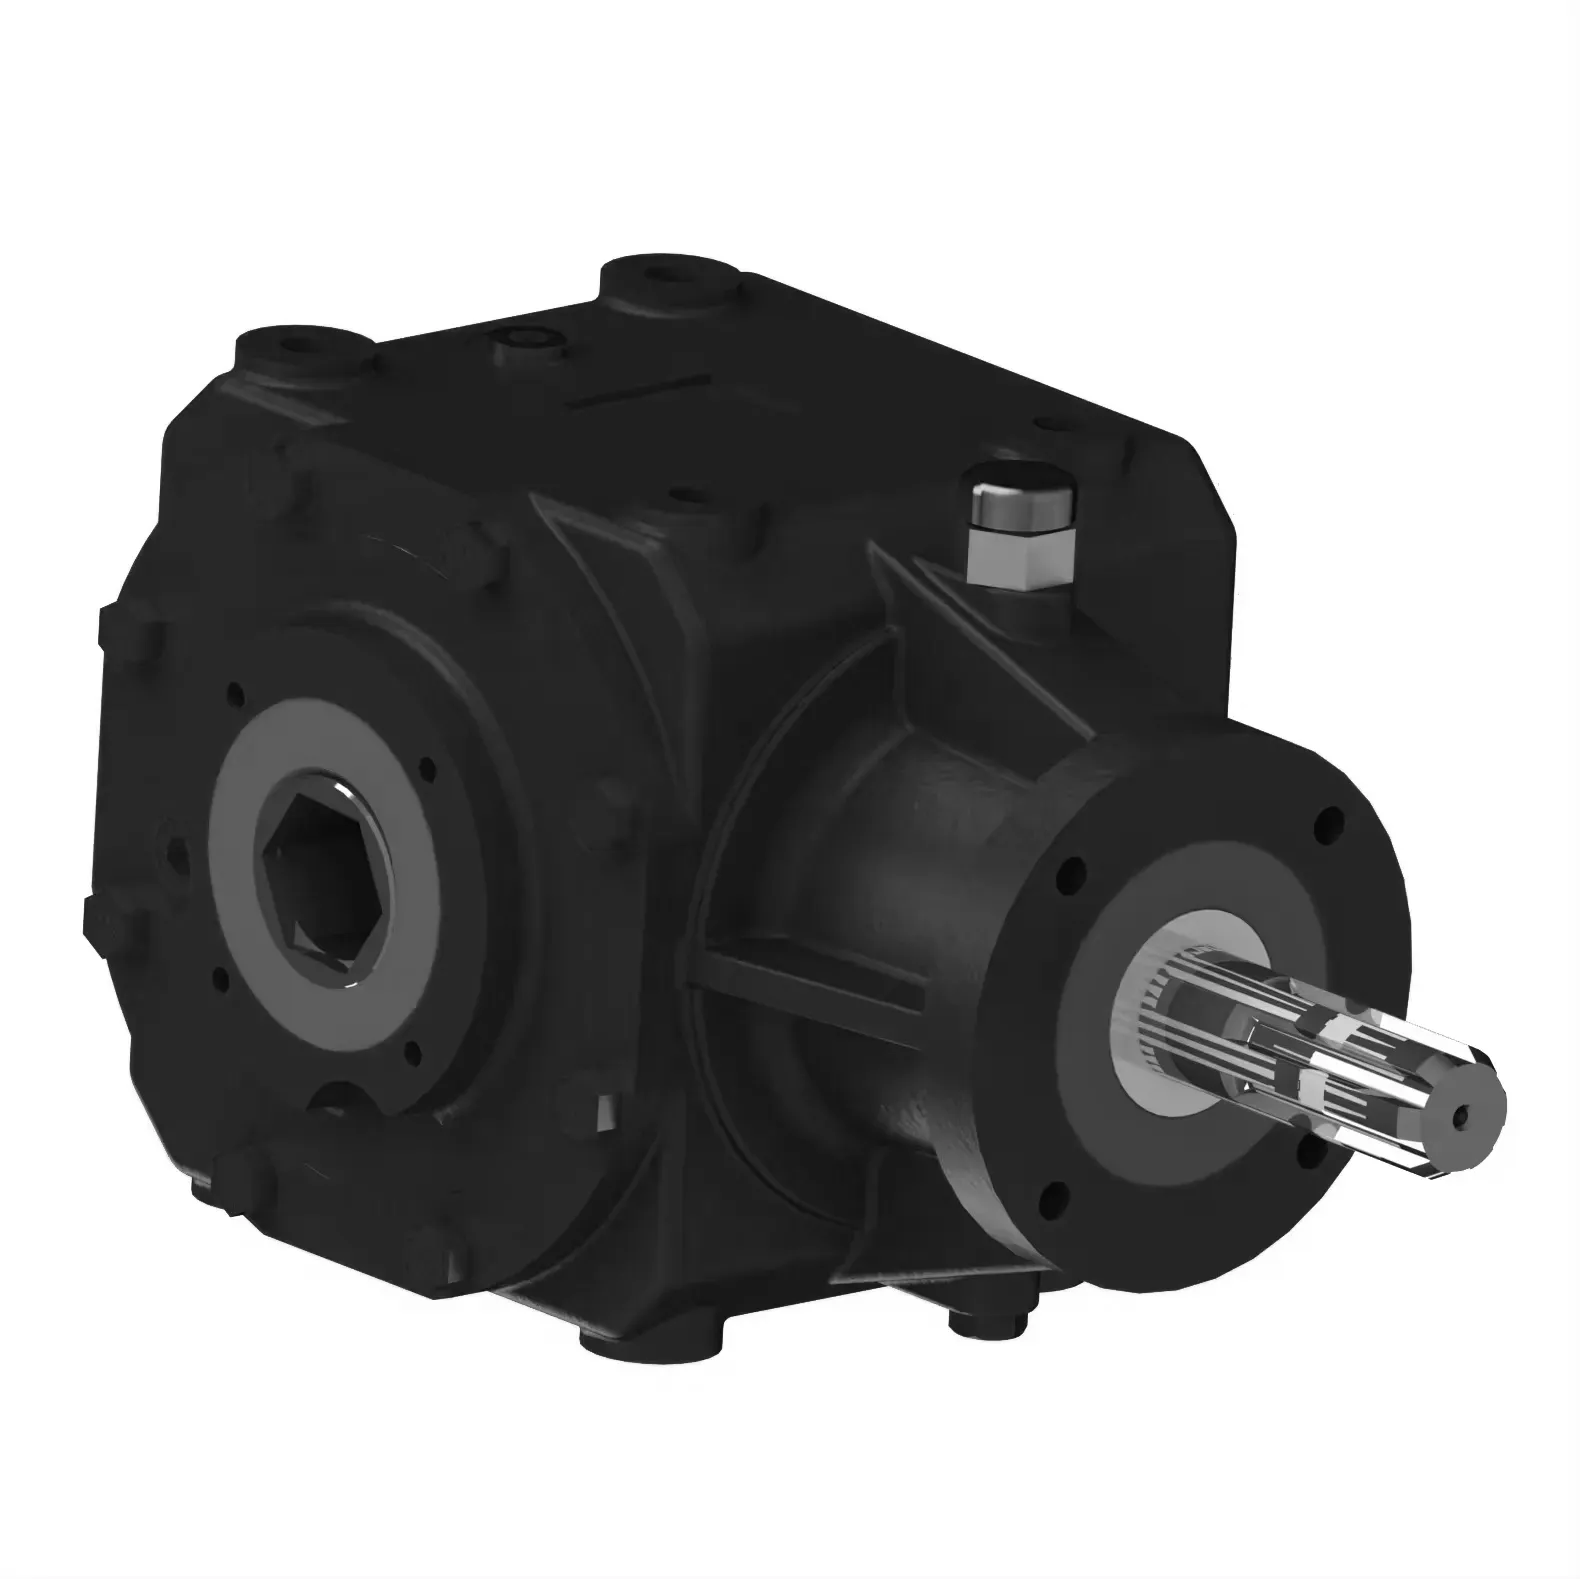
Securely mount the gearbox to the tractor and the rotary tiller using appropriate mounting hardware. Make sure that the gearbox is firmly attached to prevent vibrations during operation.
3. Correct PTO Shaft Connection:
Connect the gearbox to the tractor's PTO shaft following the manufacturer's guidelines. Ensure that the connection is tight and secure to prevent slippage or disconnection during operation.

4. Adjust Output Speed:
If the gearbox allows for output speed adjustment, set it according to the required tilling intensity. This can be done through selectable gear ratios or a variable speed mechanism, depending on the gearbox design.
5. Check for Leaks:
After installation, check for any leaks or loose fittings in the gearbox. Tighten any bolts or connections that appear to be loose to prevent oil leaks or damage to the gearbox.
6. Test Run:
Before using the rotary tiller gearbox for actual tilling work, perform a test run to ensure that the gearbox is functioning correctly. Check for any unusual noises or vibrations that may indicate a problem.