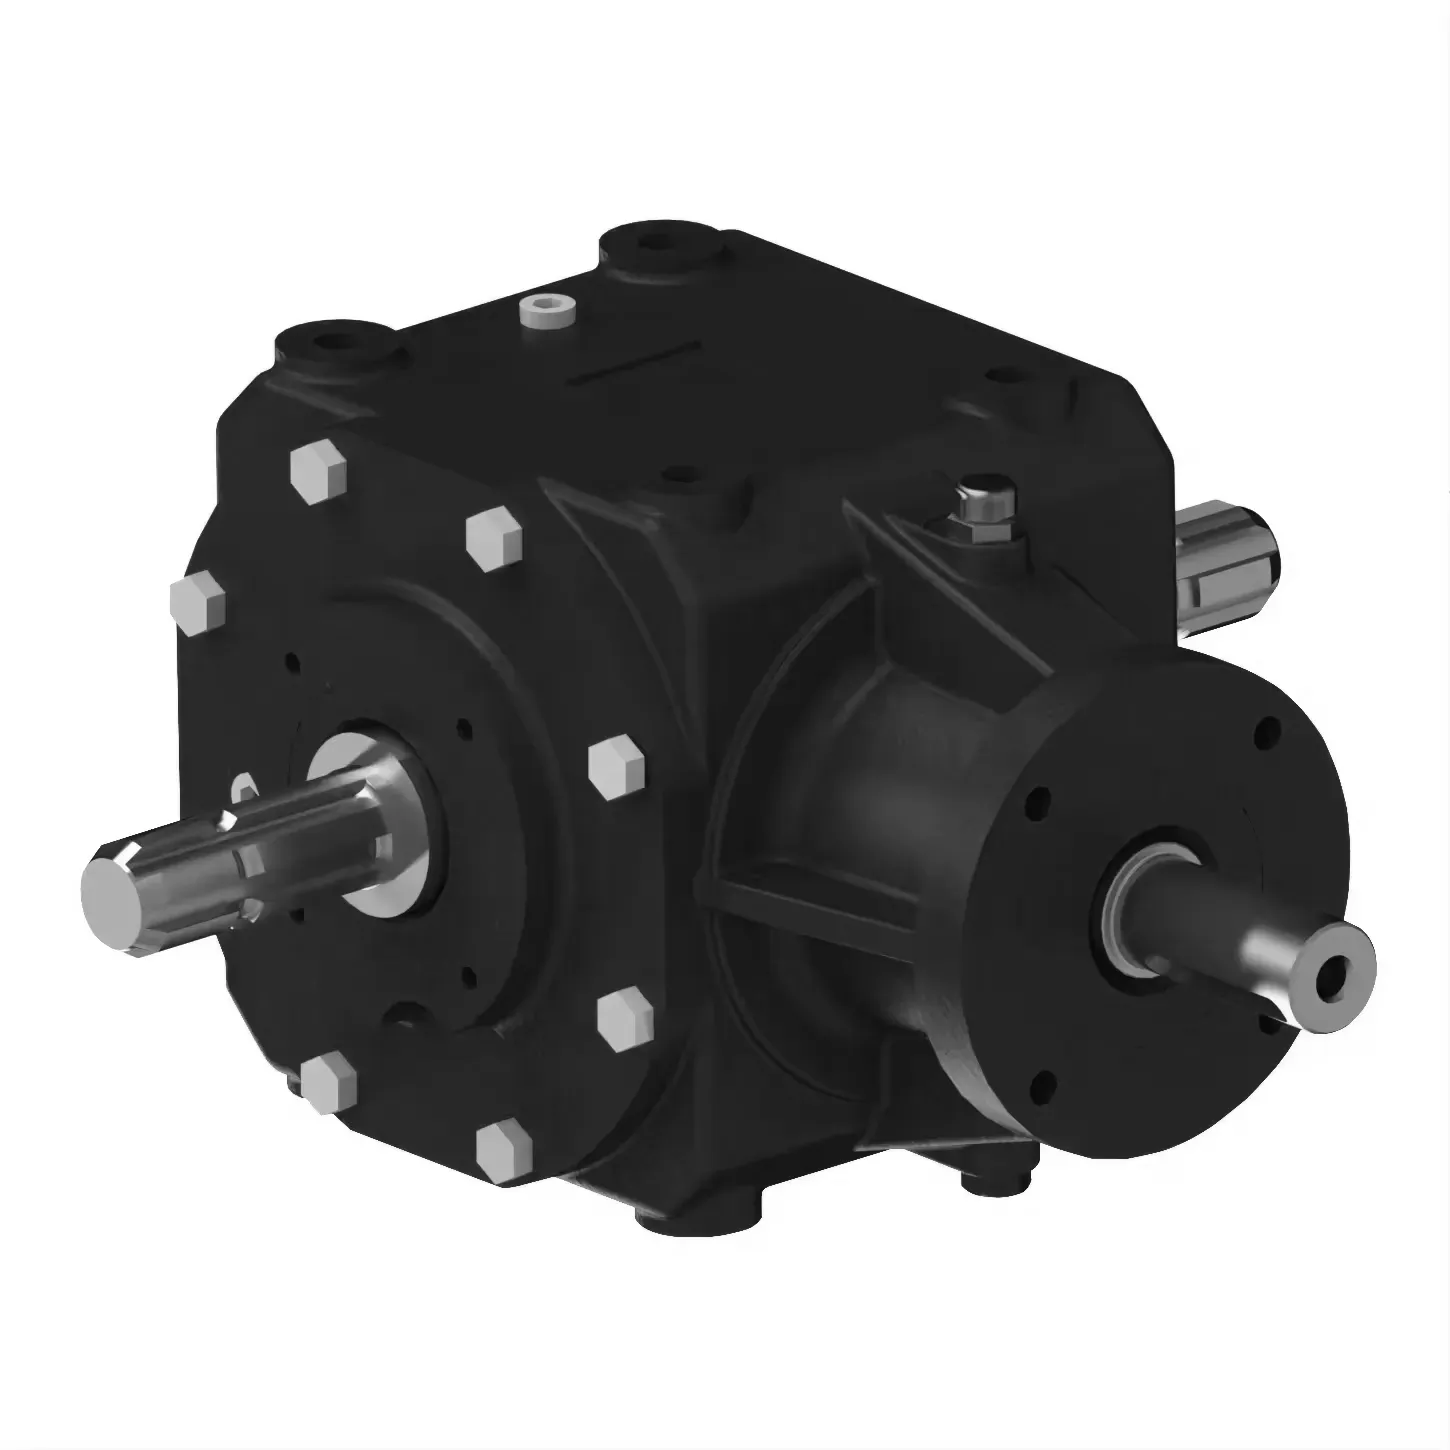
Installation Steps for Tractor PTO Rotary Tiller Gearbox
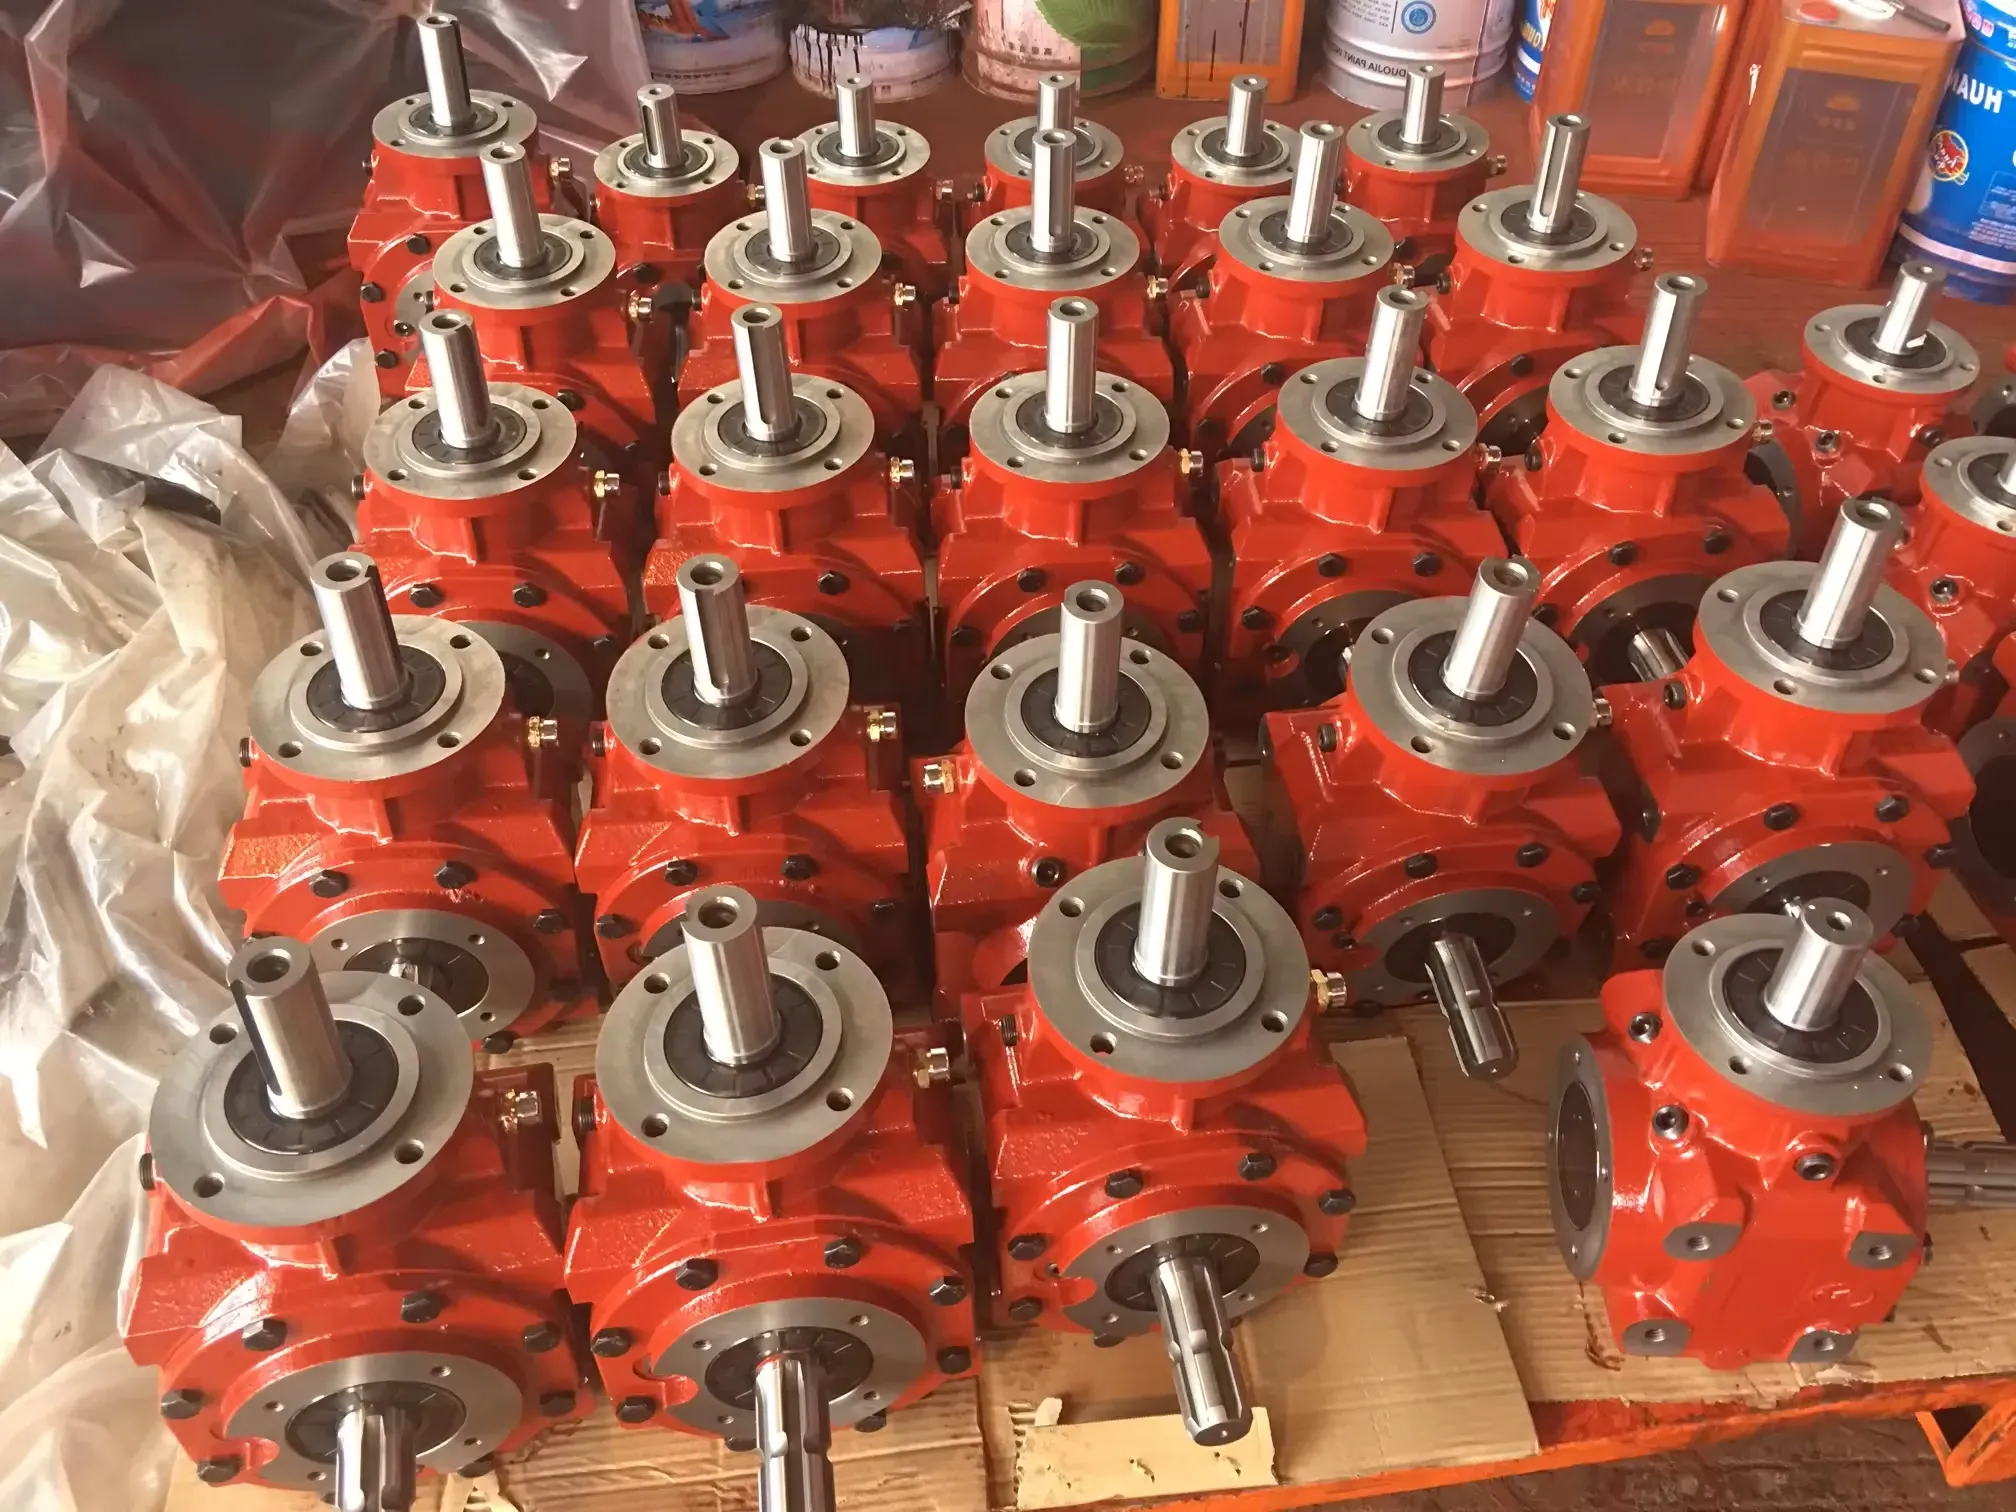
The tractor PTO driven rotary tiller gearbox is a crucial component in agricultural machinery, used to transfer power from the tractor to the rotary tiller. Here are the steps to install the gearbox properly:
Step 1: Prepare the Area
Clear the area where the gearbox will be attached to the tractor and the rotary tiller. Ensure that there is enough space for the installation process and that the ground is level to prevent any issues during installation.
Step 2: Attach the Gearbox to the Tractor
Connect the gearbox to the tractor's PTO shaft according to the manufacturer's instructions. Make sure the connection is secure and that there are no loose components that could cause damage during operation.
Step 3: Connect the Gearbox to the Rotary Tiller
Next, attach the gearbox to the rotary tiller using the appropriate mounting hardware. Ensure that the gearbox is aligned properly with the tiller to prevent any misalignment issues that could affect performance.
Step 4: Secure all Connections

Check all connections between the gearbox, tractor, and rotary tiller to ensure that they are tight and secure. Loose connections can lead to inefficiency and potential damage to the components.
Step 5: Test the System
Before using the rotary tiller gearbox for actual tilling work, test the system to ensure that everything is functioning correctly. Check for any unusual noises or vibrations that could indicate a problem.
Step 6: Adjust Speed and Torque Settings
Depending on the soil conditions and the type of tilling work you will be doing, adjust the speed and torque settings on the gearbox to optimize performance. Refer to the manufacturer's guidelines for the recommended settings.
Author: Yjx