3-Point Post Hole Digger
What is the 3-Point Post Hole Digger?
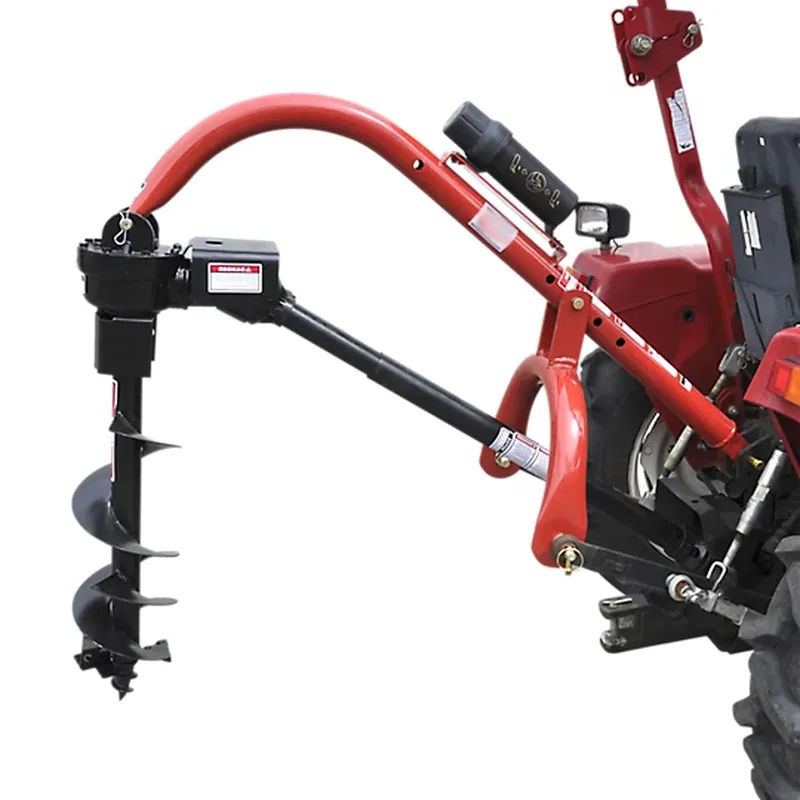
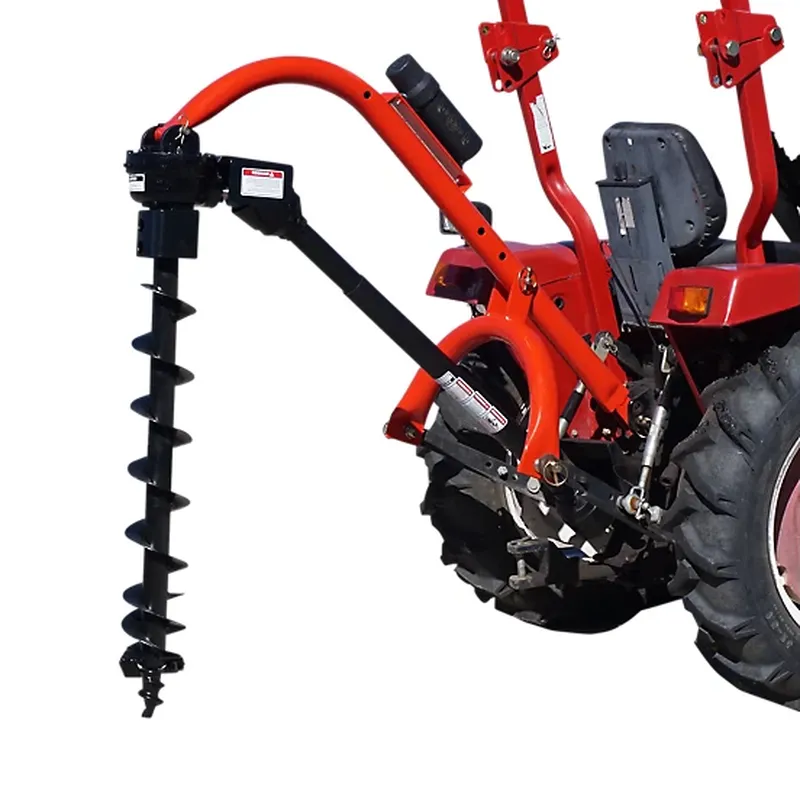
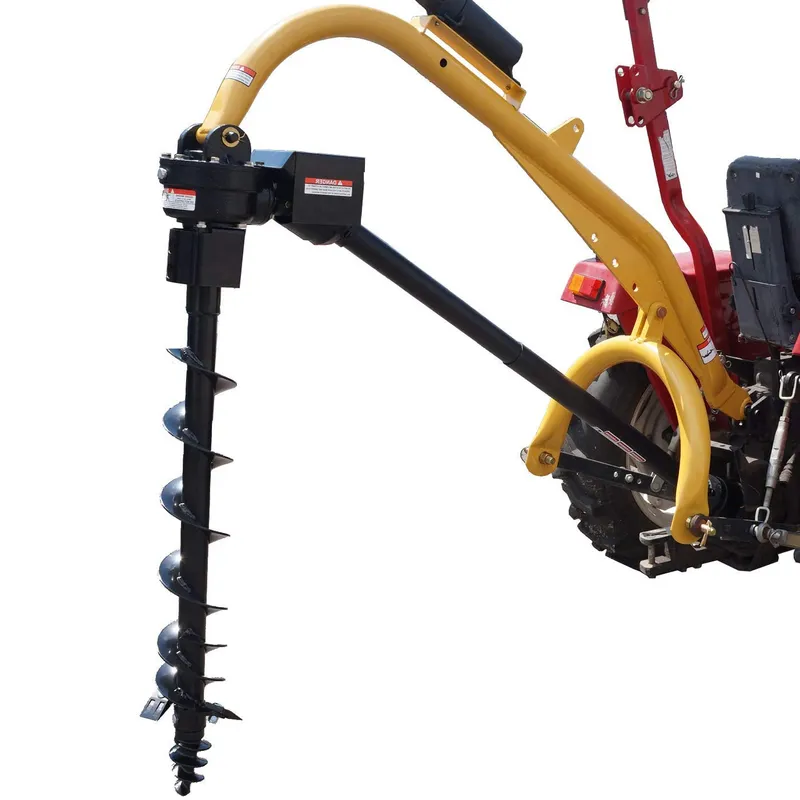
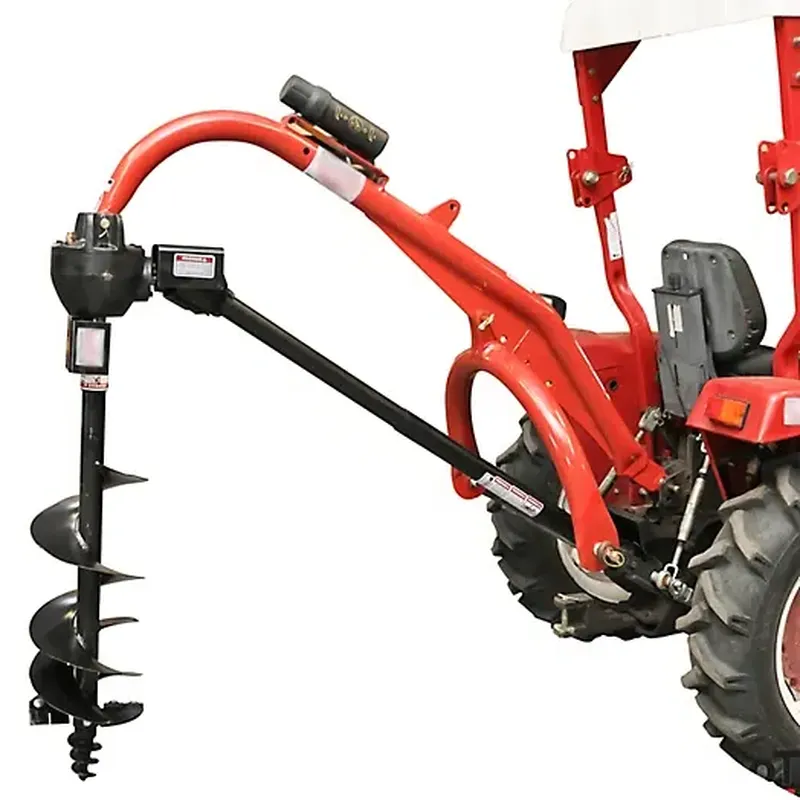
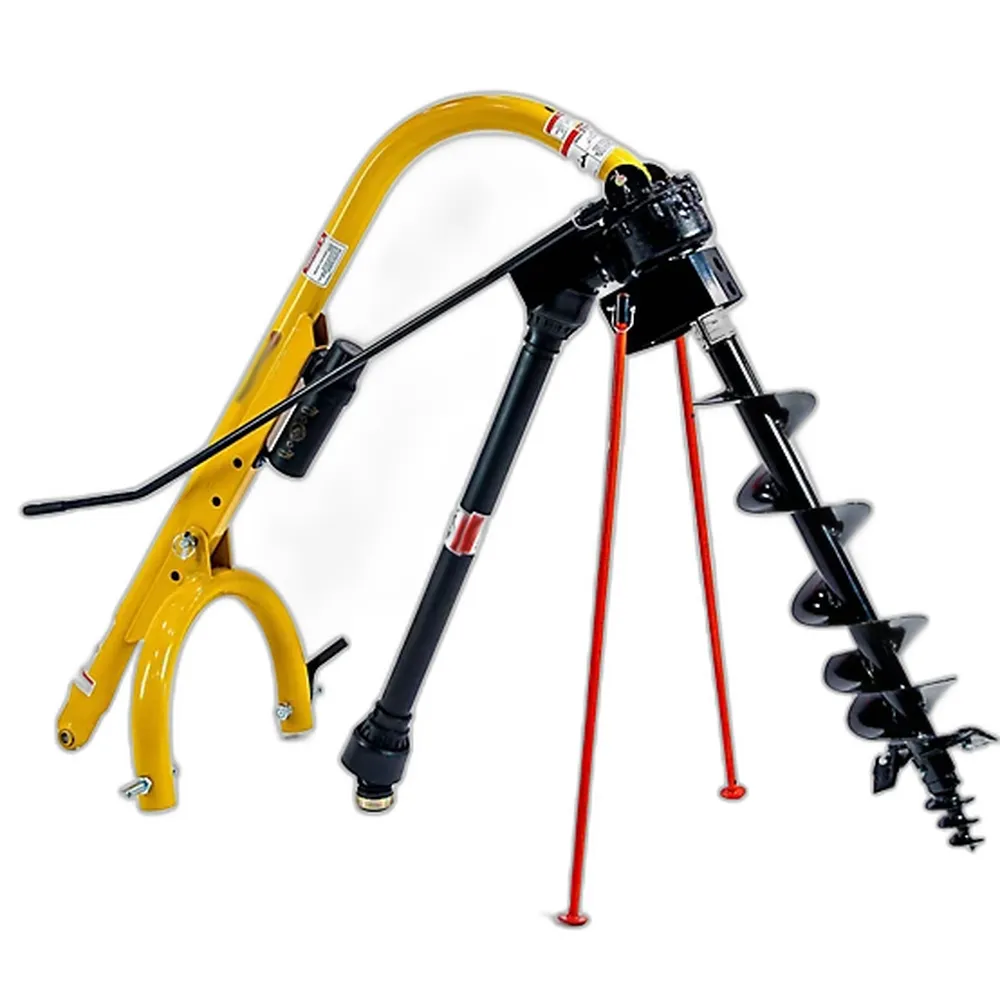
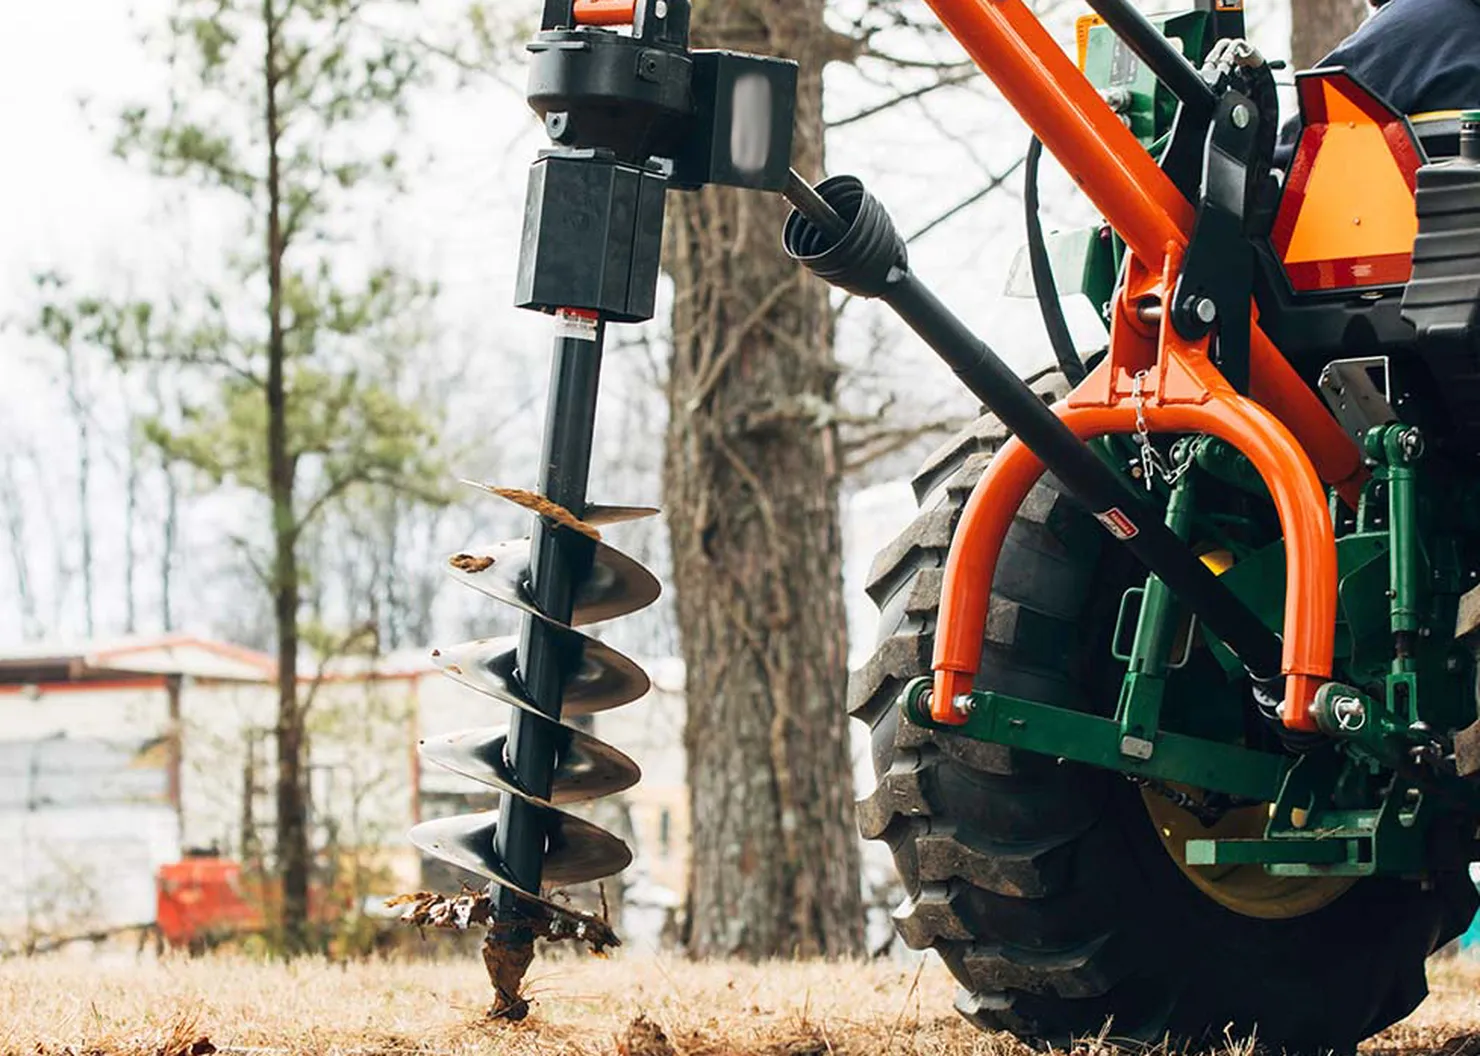
A 3-point post hole digger is a tractor-mounted agricultural implement designed to efficiently dig holes in the ground, typically for installing fence posts, planting trees, or setting up structural supports. It attaches to a tractor via a three-point hitch system, a standardized mounting mechanism consisting of two lower arms and one upper link, commonly found on tractors. Powered by the tractor’s PTO (power take-off), the digger transfers rotational energy to a gearbox, which drives an auger—a spiral-shaped drill bit—into the soil.
The implement features a sturdy frame, often made of high-strength steel tubing, and a heavy-duty gearbox to withstand tough digging conditions. Augers come in various diameters (e.g., 6, 9, or 12 inches) and lengths (typically 30-48 inches), allowing versatility for different hole sizes and depths. Designed for Category 1 or 2 tractors (depending on horsepower, usually 18-100 HP), it includes safety features like shear pins to protect the driveline from overload.
3-Point Post Hole Digger Types
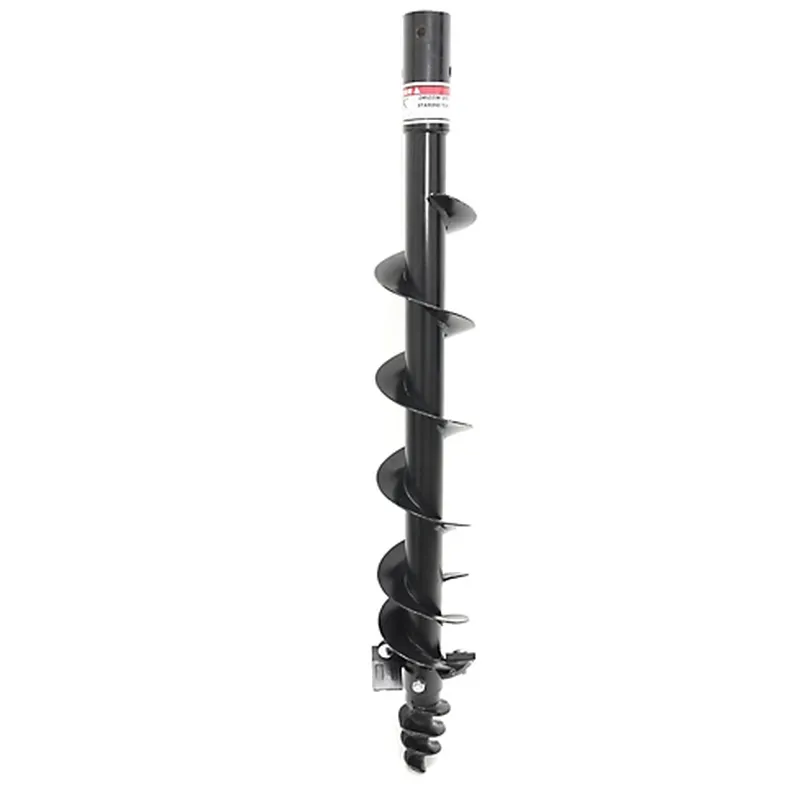
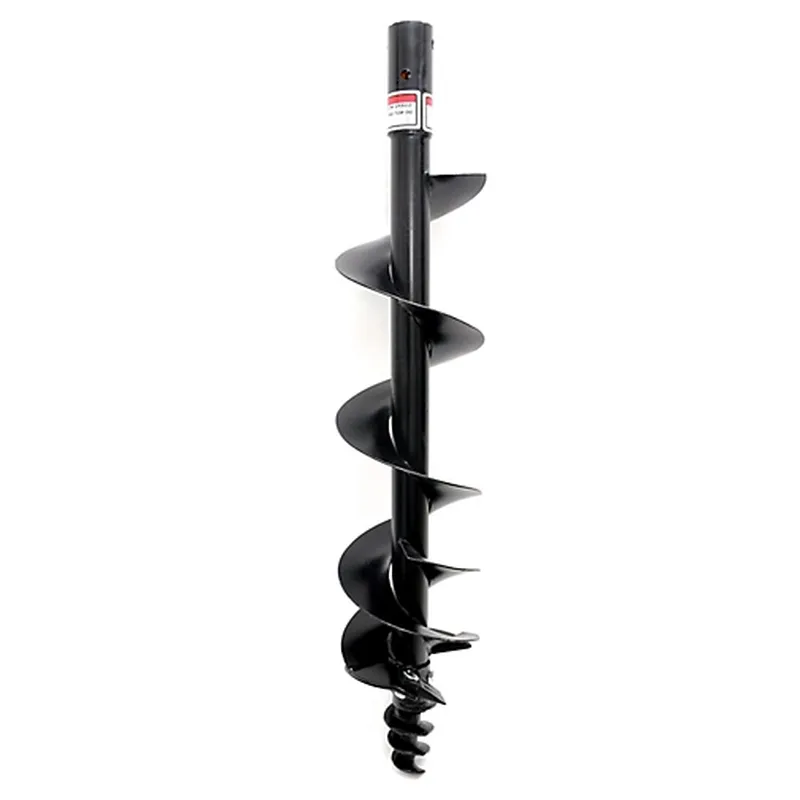
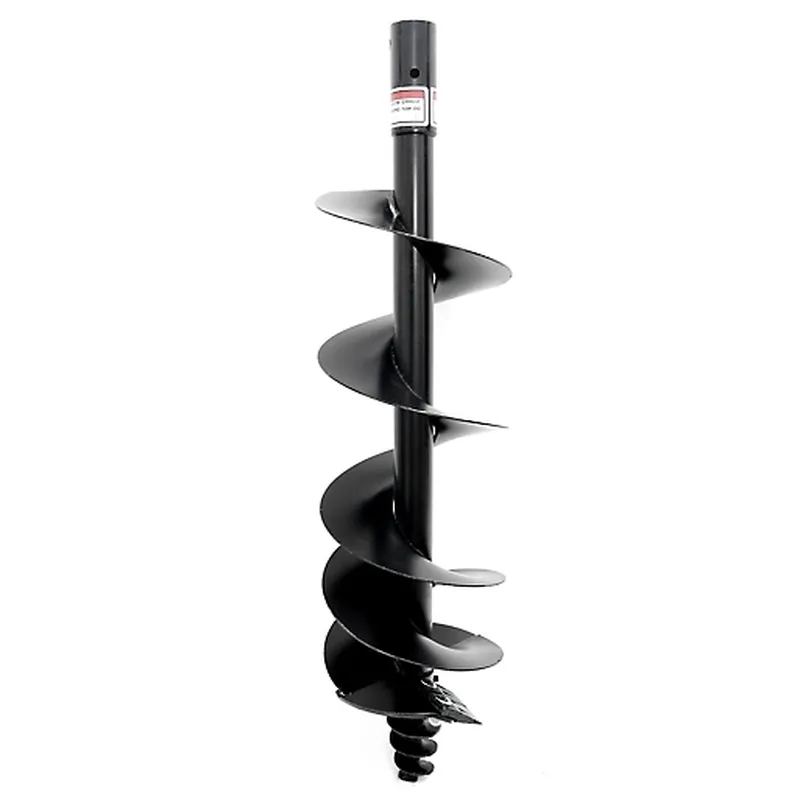
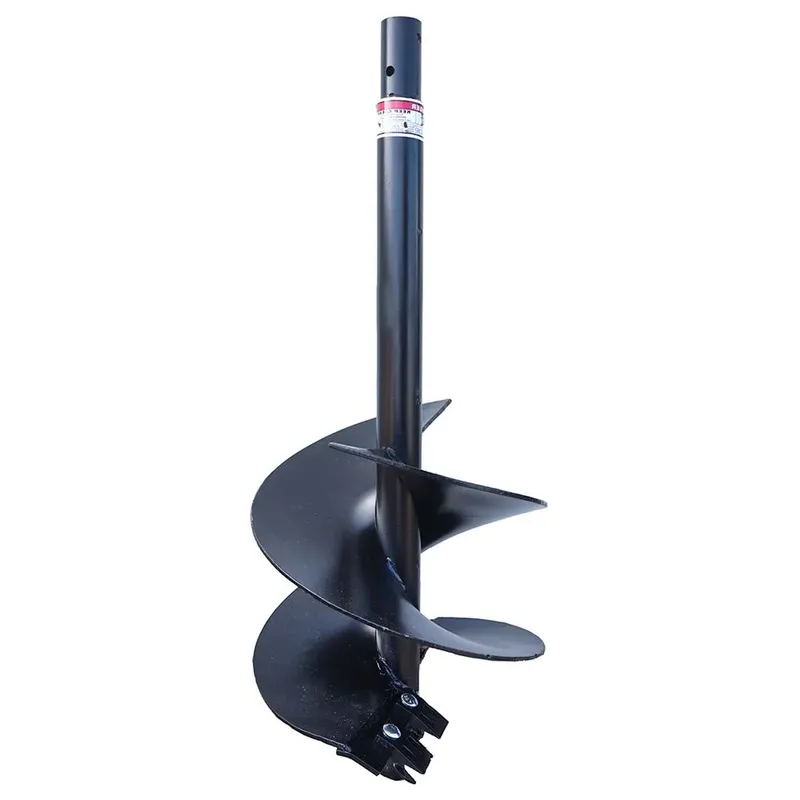
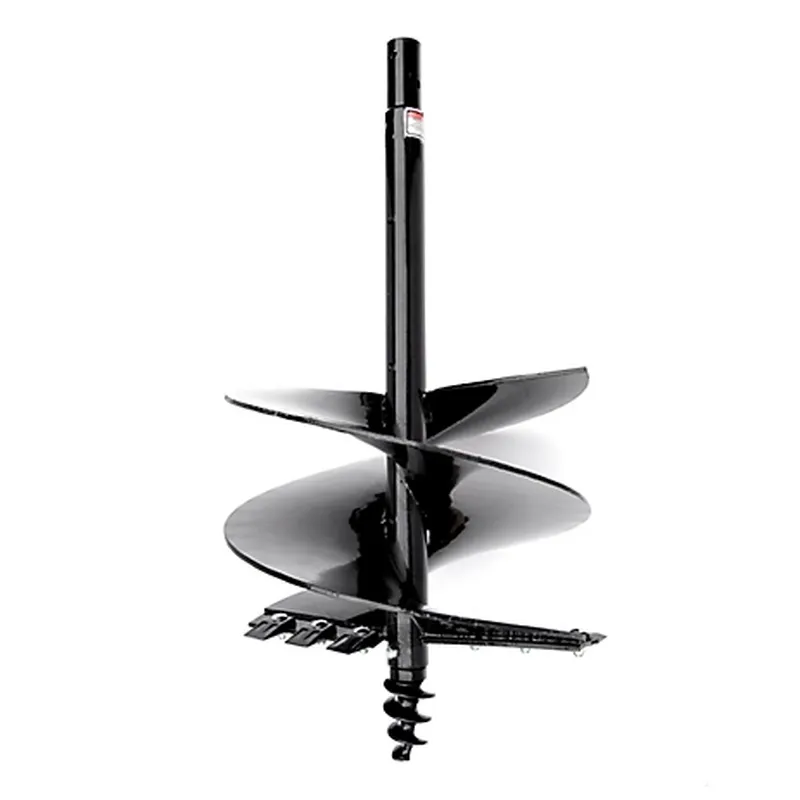
Auger for Post Hole Diggers
Components of 3 Point Post Hole Digger
1. Post Hole Digger Gearbox: The gearbox is the heart of the post hole digger, converting the tractor’s PTO rotational power into the torque needed to drive the auger. Typically constructed from cast iron or steel, it features precision gears (often bevel or helical) housed in a sealed casing with lubrication to reduce wear. Rated for specific horsepower (e.g., 20-75 HP), it ensures efficient energy transfer while enduring the stress of penetrating hard soils.
2. PTO Shaft: The PTO shaft connects the tractor’s PTO output to the digger’s gearbox, transmitting rotational power. Made of durable steel, it includes universal joints for flexibility and a telescoping design to adjust length. Safety shields cover the shaft to prevent entanglement, and a shear bolt or slip clutch protects the system from damage during overload, ensuring reliable operation.
3. Auger Bit: The auger bit is the drilling component, featuring a spiral steel blade welded to a central shaft. Ranging from 6 to 24 inches in diameter, it cuts and lifts soil as it rotates. Hardened cutting tips (sometimes replaceable) enhance durability, while the fluted design efficiently removes dirt, making it ideal for various soil types, from loose loam to compacted clay.
4. Three-Point Boom Pole: The boom pole is a robust steel arm that mounts the gearbox and auger to the tractor’s three-point hitch. It provides structural support and stability, aligning the auger vertically during operation. Adjustable via the hitch’s top link, it allows precise positioning, ensuring consistent hole depth and angle, and is built to withstand downward force and vibration during digging.
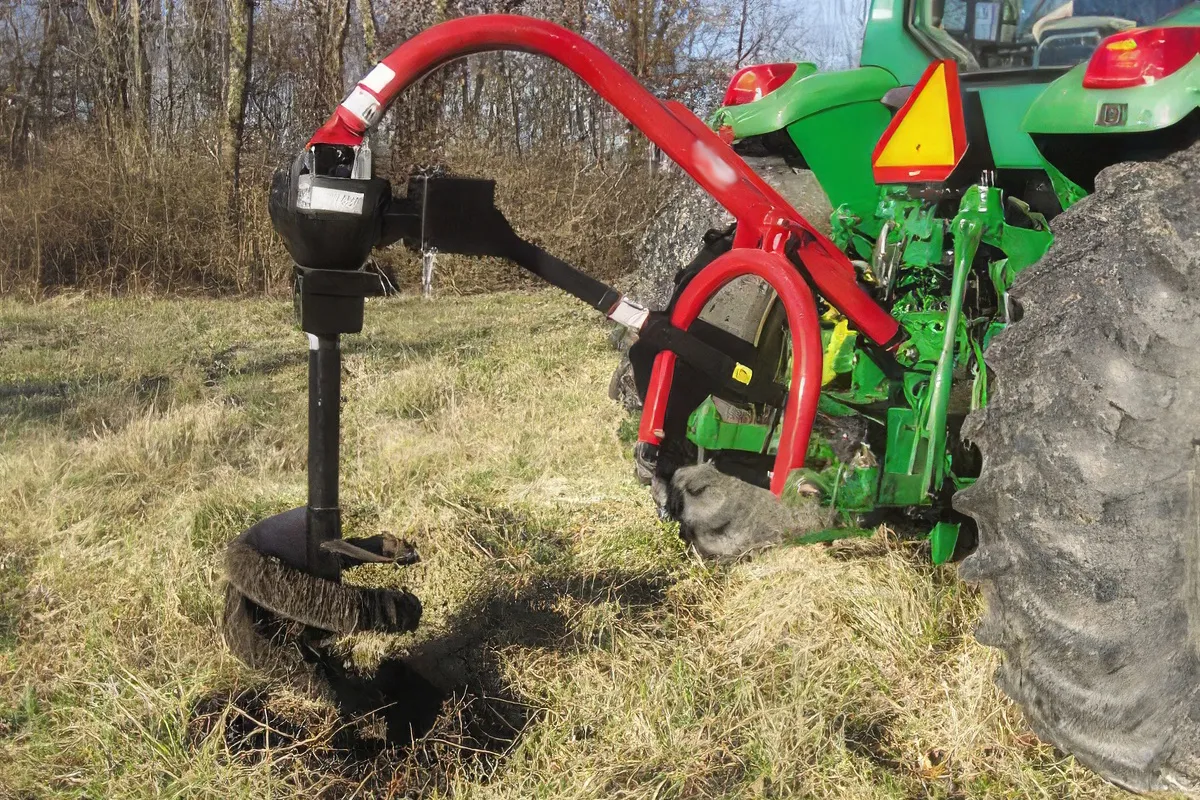
Post Hole Digger Applications
Additionally, it’s used in signpost installation for roads or farms and erosion control projects, as well as anchoring posts for retaining walls or silt fences to stabilize soil. Mounted on a tractor’s three-point hitch and powered by the PTO, this tool offers efficiency and precision across rugged terrains and diverse tasks.
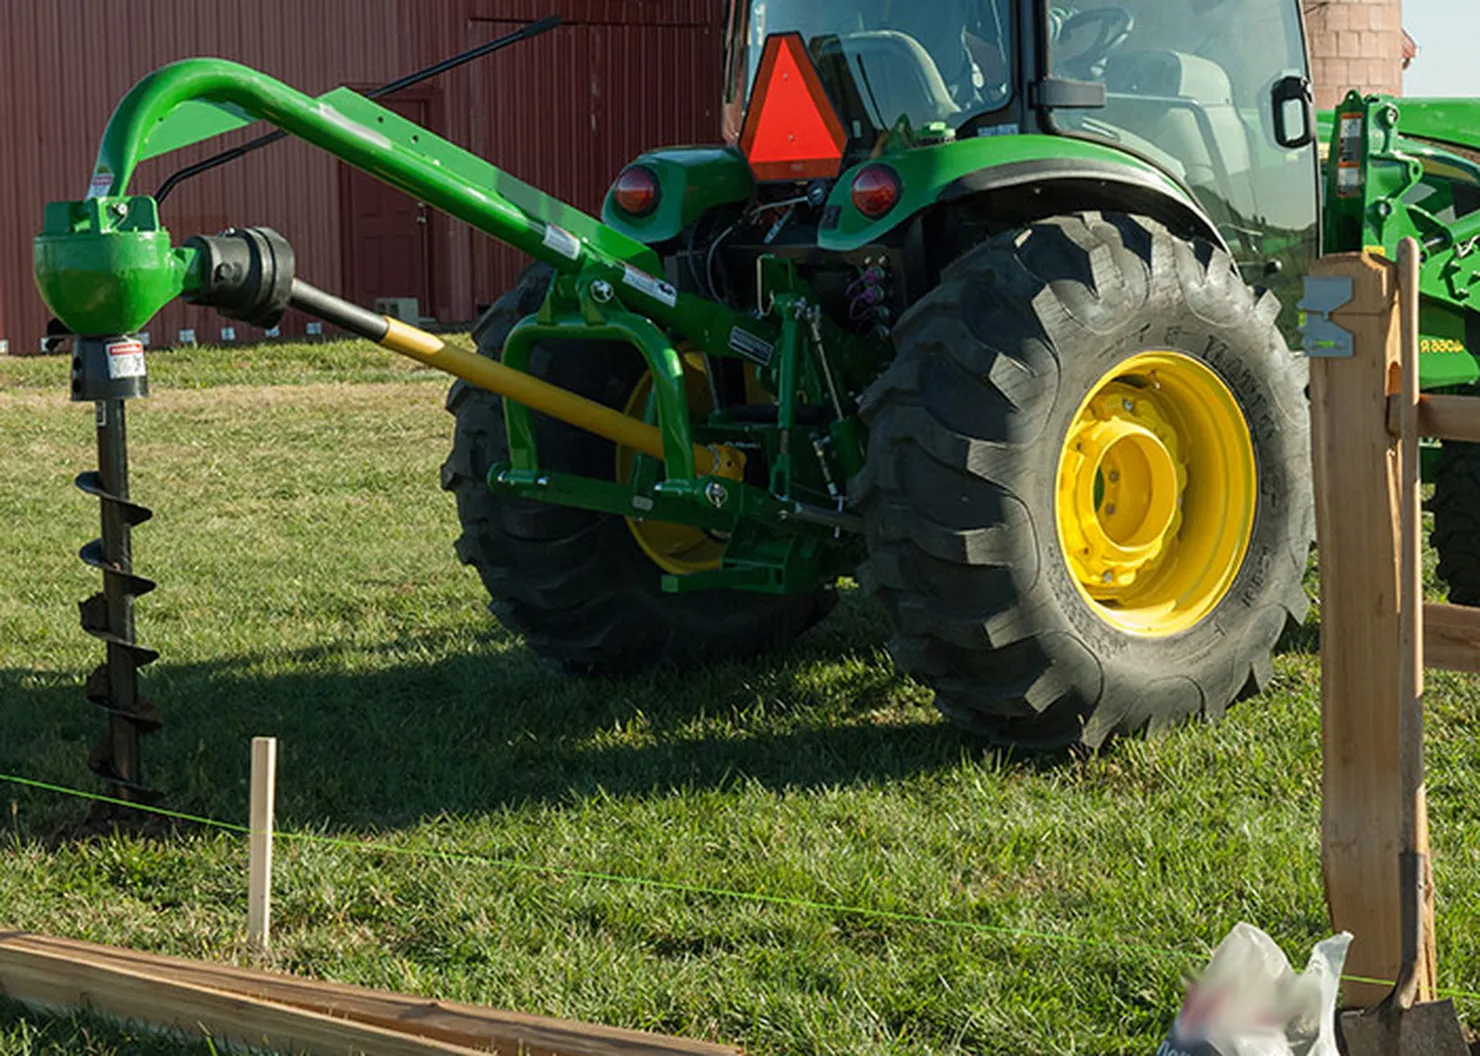
Fencing Installation
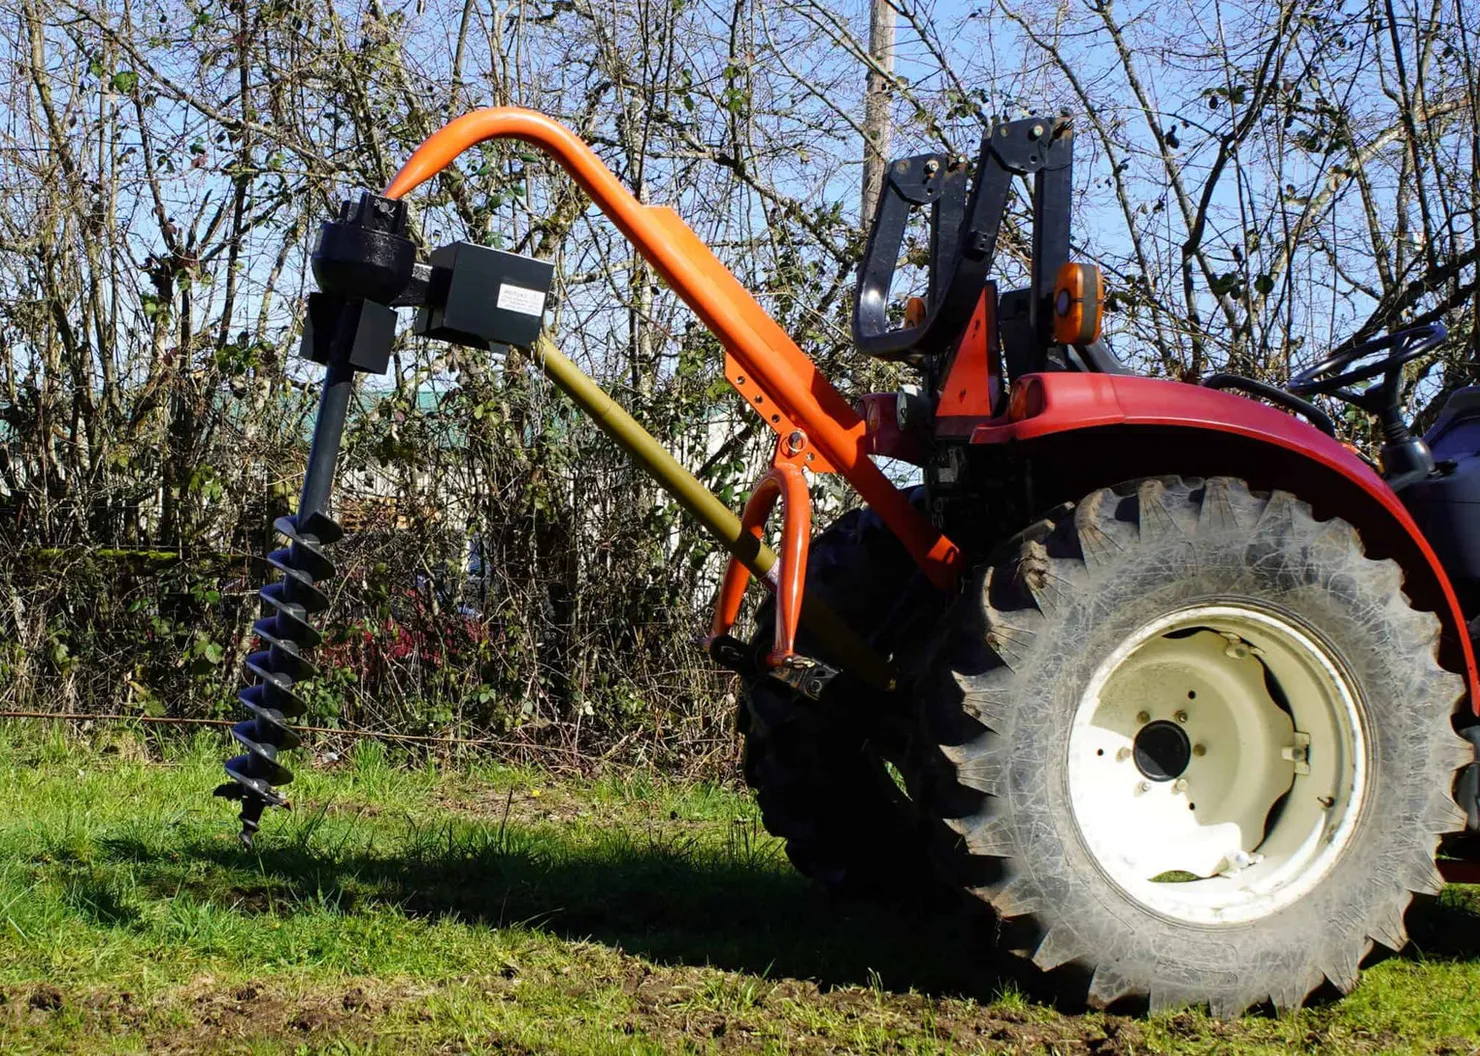
Tree and Shrub Planting
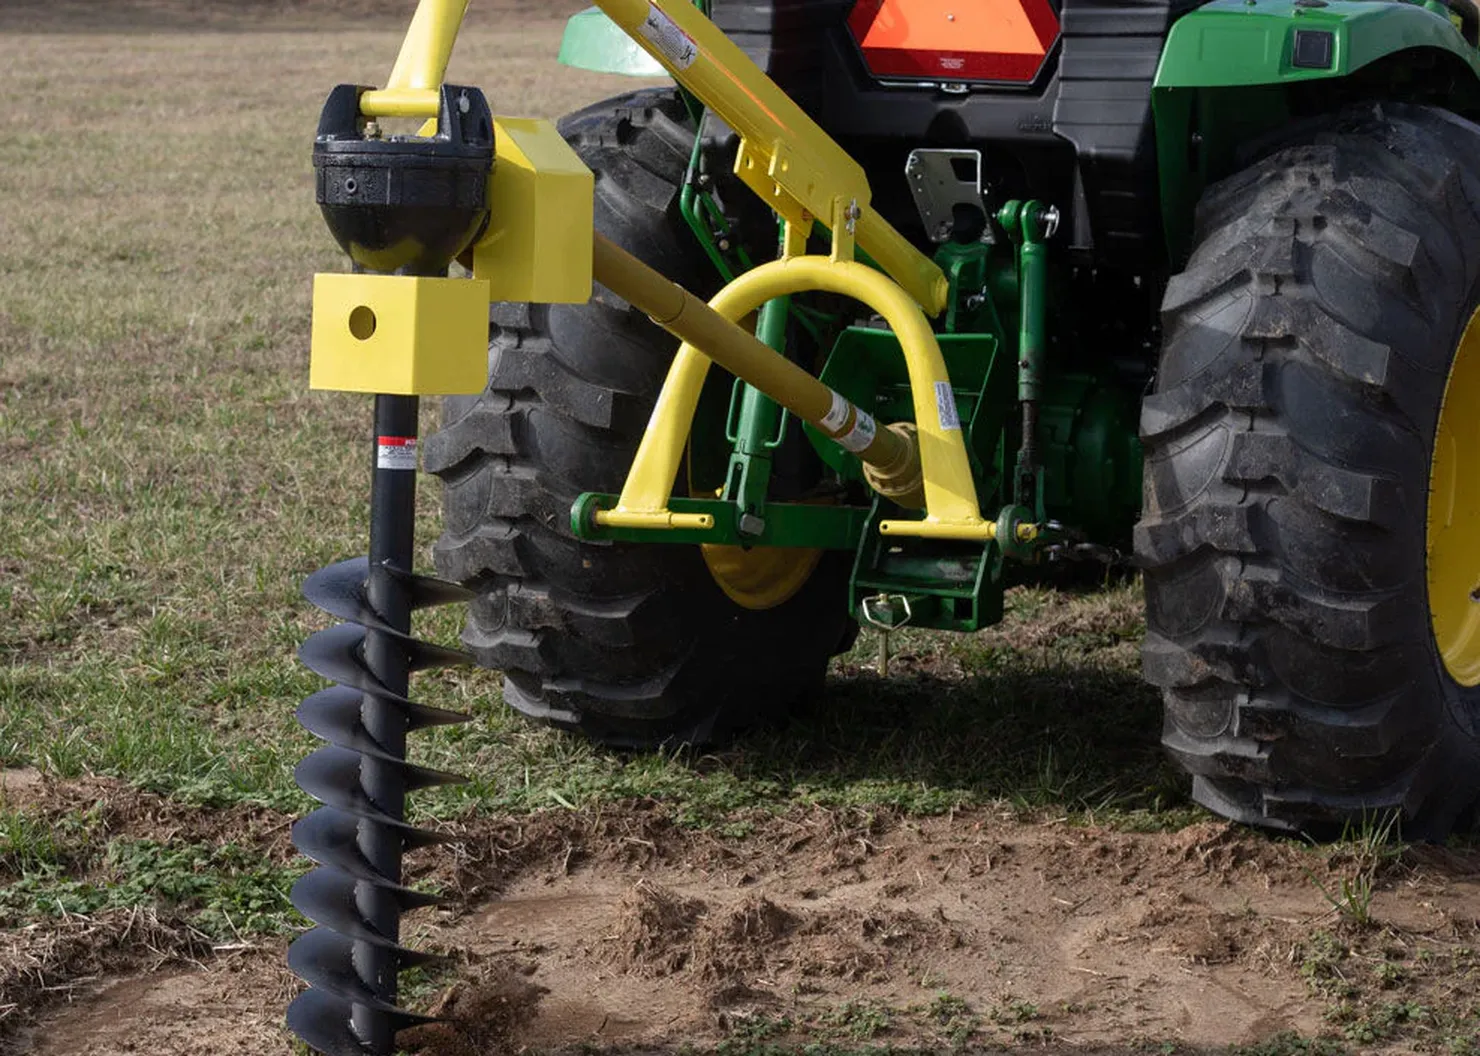
Signpost Installation
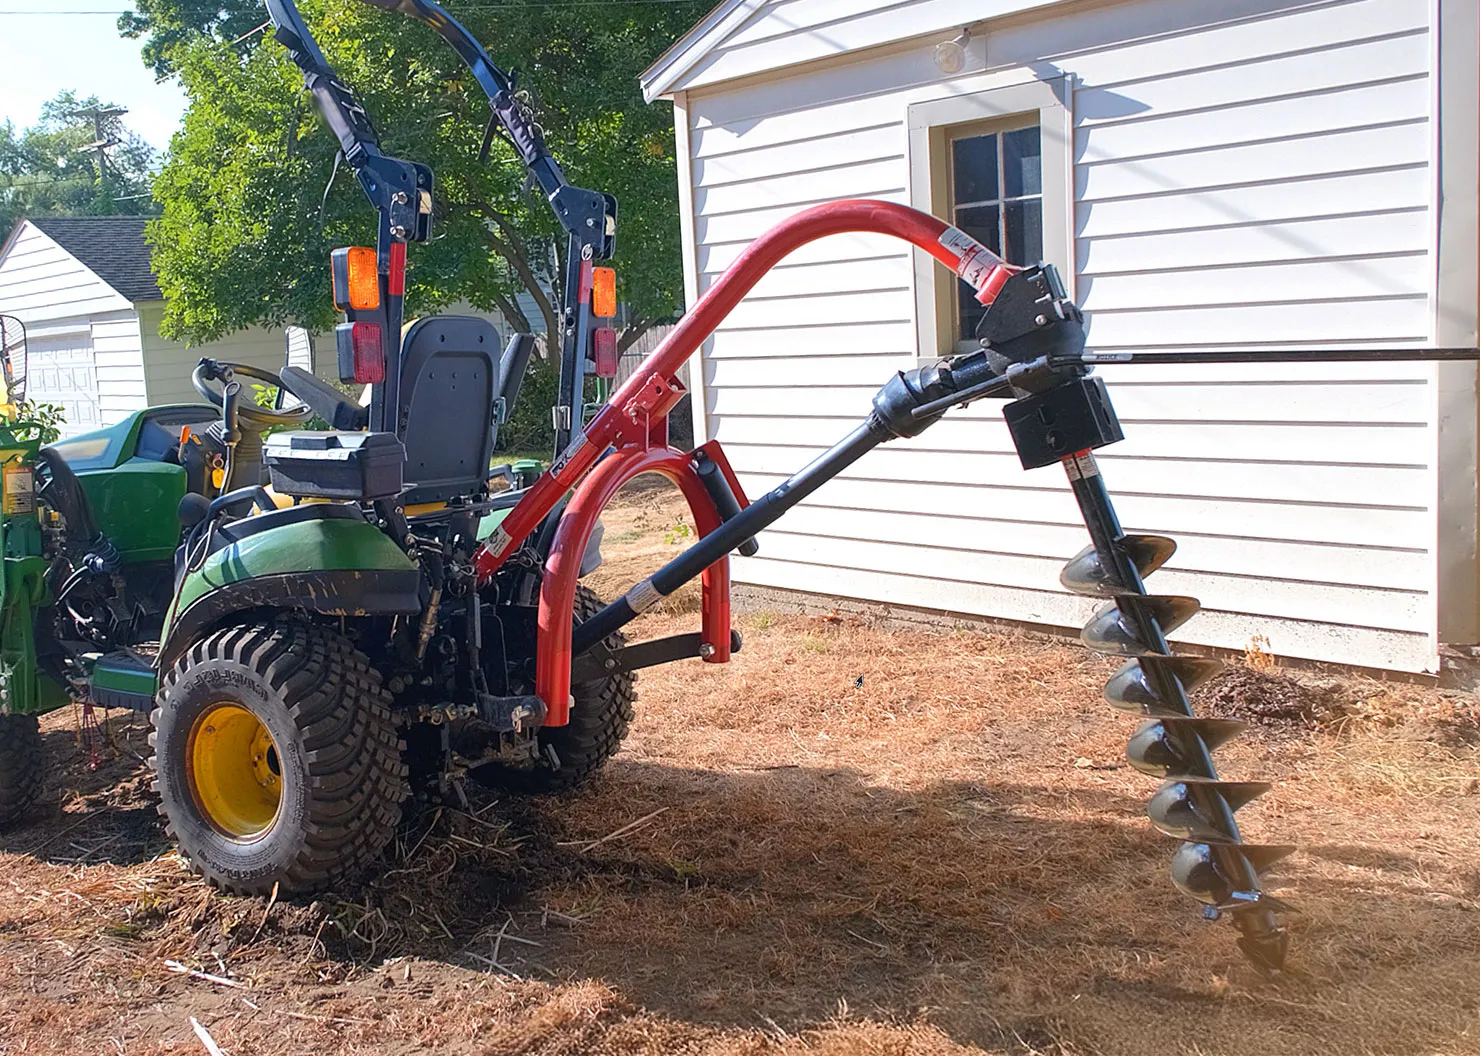
Deck and Building Frames
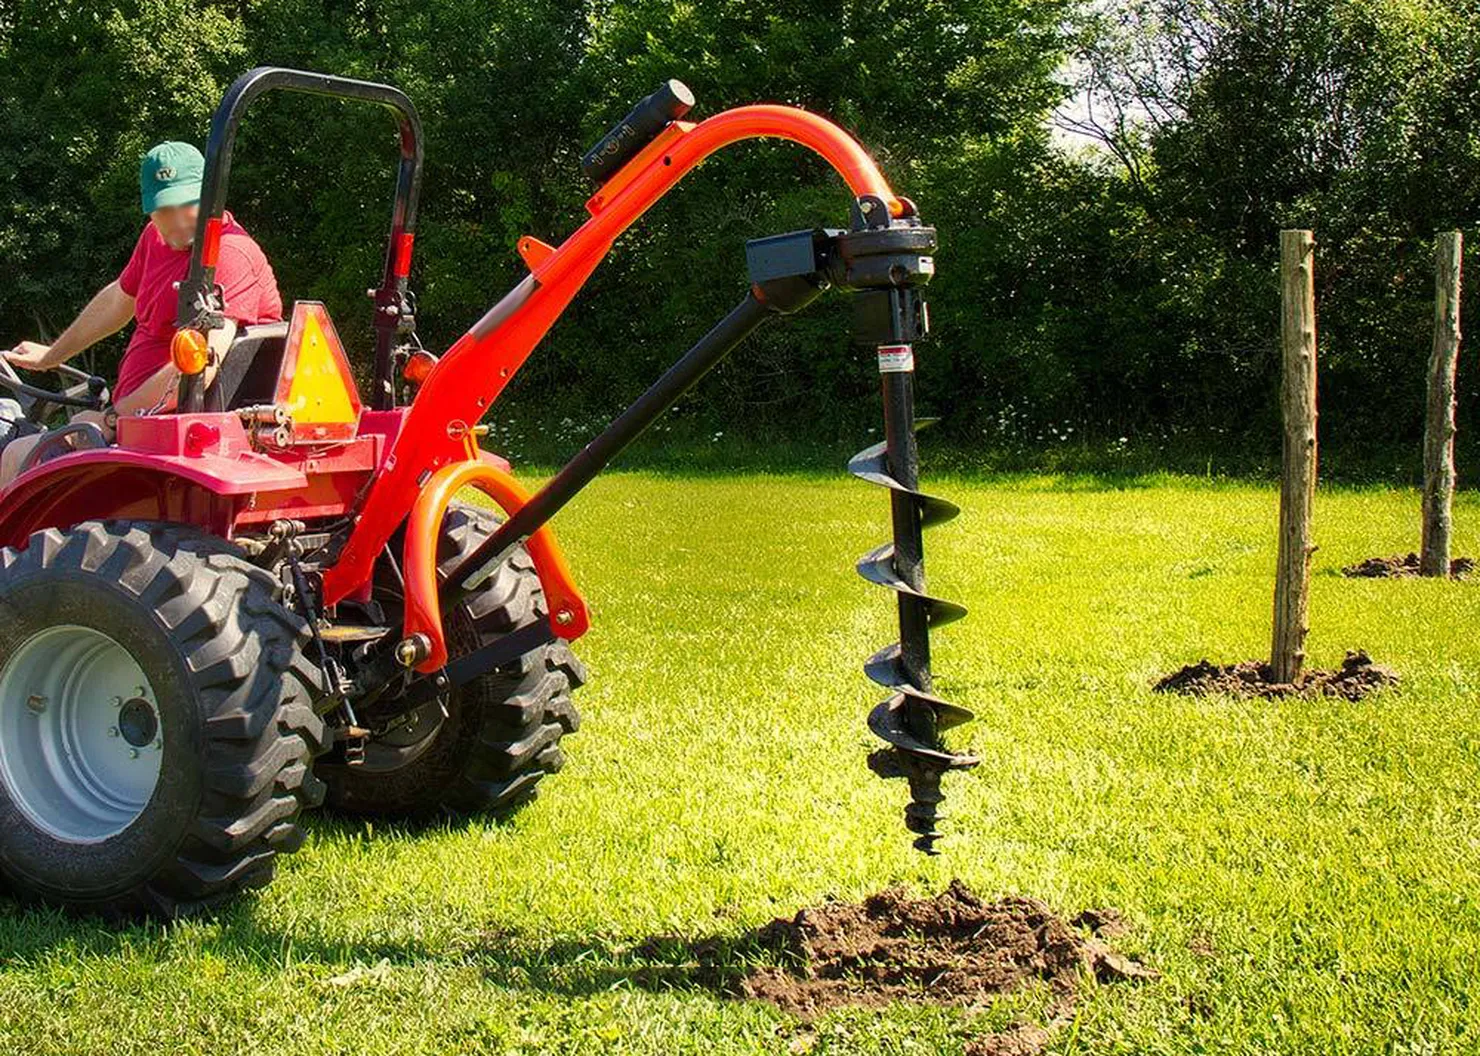
Vineyard or Orchard Setup
Pasture Management
Post Hole Digger Installation Steps
- Preparation: Park your tractor on level ground and engage the parking brake. Ensure the PTO is disengaged and the engine is off. Gather tools like a wrench or socket set for securing bolts, and verify the digger’s compatibility with your tractor’s hitch category (e.g., Category 1 or 2) and horsepower rating.
- Attach to the Three-Point Hitch: Position the post hole digger behind the tractor. Align the lower arms of the tractor’s three-point hitch with the digger’s lower mounting pins. Slide the hitch arms onto the pins and secure them with linchpins or hitch pins provided. Next, connect the top link between the tractor’s upper hitch point and the digger’s boom pole, adjusting its length to level the digger and locking it with a pin.
- Connect the PTO Shaft: Take the PTO shaft supplied with the digger and attach one end to the tractor’s PTO output stub, ensuring it clicks into place. Connect the other end to the digger’s gearbox input shaft. Check that the shaft’s safety shield is intact and secure any safety chains to prevent rotation of the shield. Adjust the shaft length if telescoping, ensuring no overextension during operation.
- Final Adjustments and Safety Check: Raise the hitch slightly using the tractor’s hydraulic lift to confirm alignment and stability. Ensure the auger hangs vertically. Check all connections—pins, bolts, and PTO—for tightness. Inspect the shear pin or slip clutch on the PTO shaft, which protects against overload, and confirm it’s properly installed.
- Test the Setup: Start the tractor, engage the PTO at low RPMs, and observe the auger’s rotation. If it spins smoothly without excessive vibration, the installation is successful. Lower the digger to the ground and proceed with your task.

