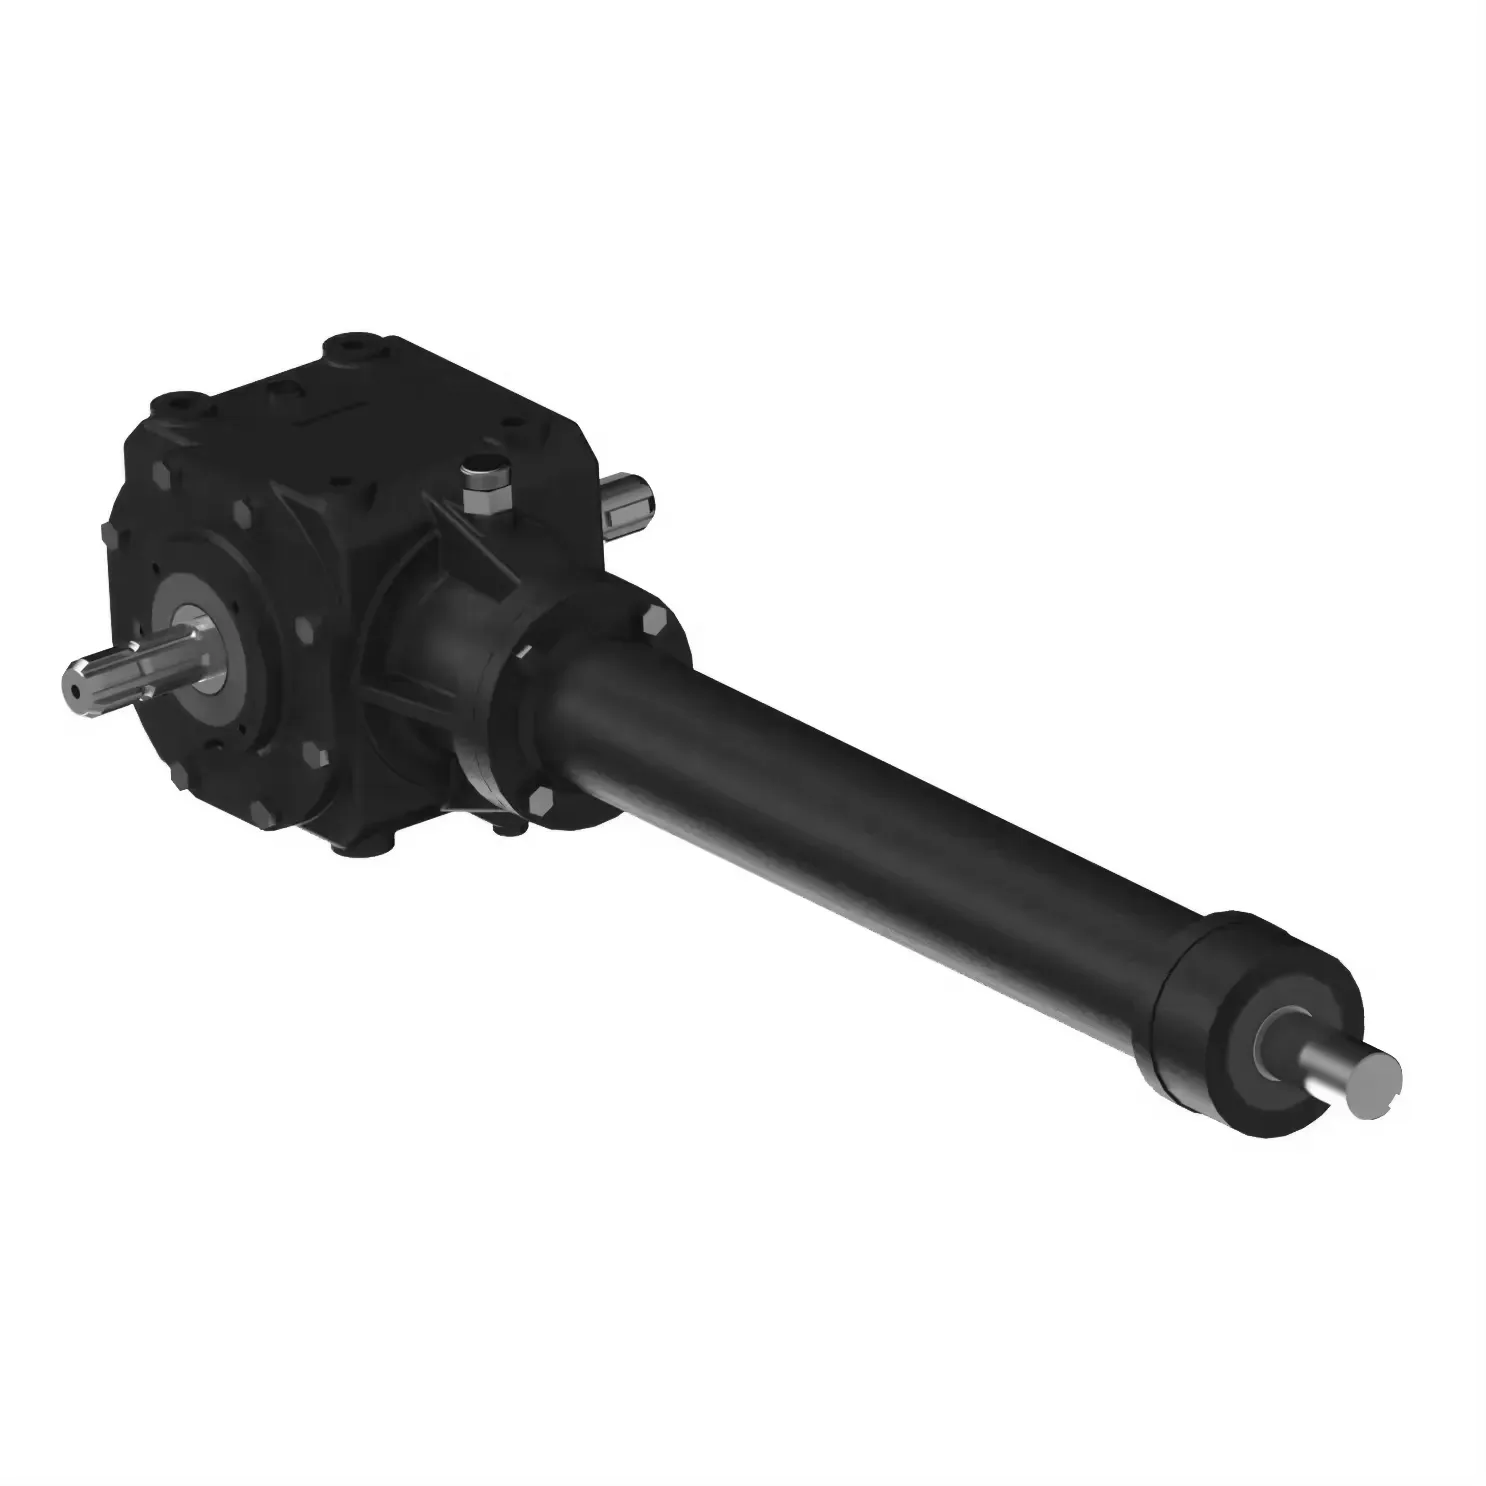
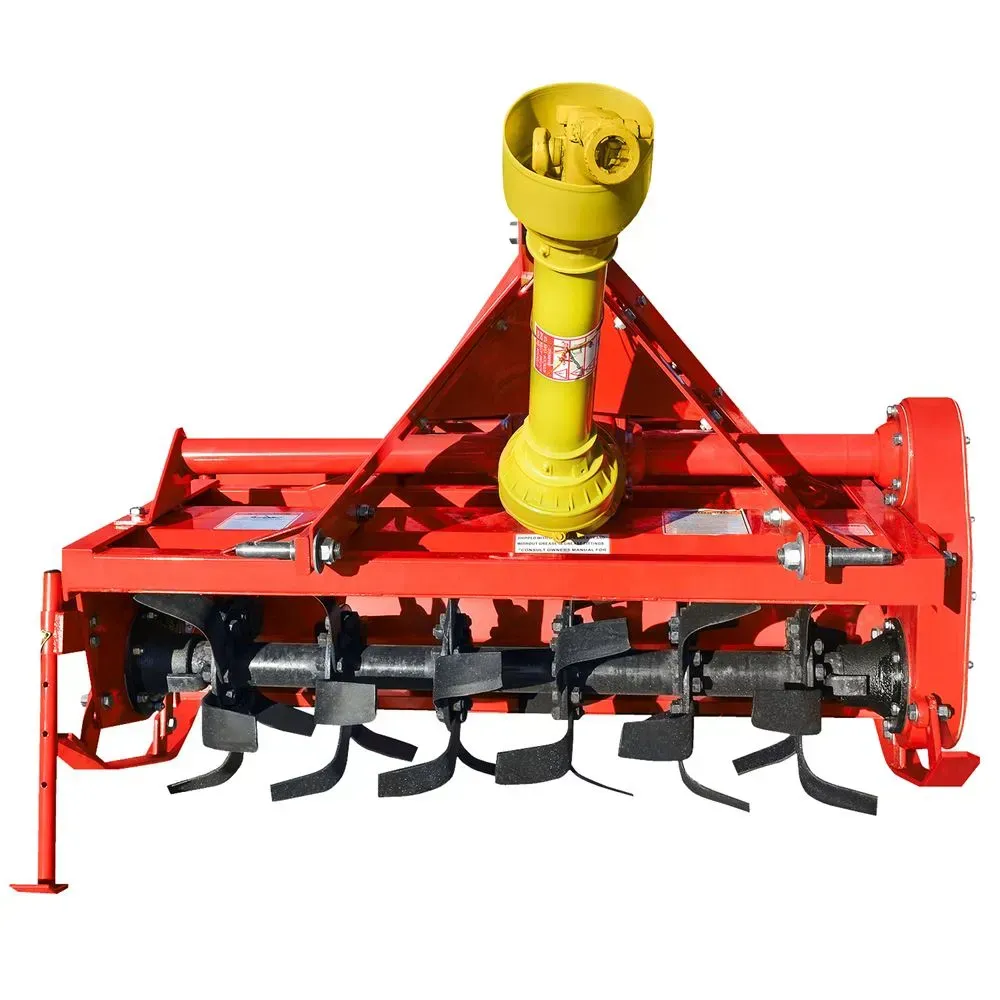
Installation Steps for Tractor PTO Driven Rotary Tiller Gearbox
The installation of a tractor PTO driven rotary tiller gearbox is a crucial step in ensuring the proper functioning of your agricultural machinery. Here are the detailed steps to guide you through the installation process:
Step 1: Preparation and Safety
Before starting the installation, ensure that the tractor is turned off and the PTO shaft is disengaged. Put on safety gear such as gloves and safety glasses to protect yourself during the installation process.
Step 2: Positioning the Gearbox
Position the rotary tiller gearbox in the desired location on the tractor. Ensure that the mounting surface is clean and free from any debris that could affect the gearbox's alignment and performance.

Step 3: Aligning the Gearbox
Align the gearbox with the PTO shaft on the tractor. Make sure that the gearbox input shaft is properly aligned with the PTO output shaft to ensure a smooth transfer of power.
Step 4: Attaching the Gearbox
Securely attach the gearbox to the tractor using the appropriate mounting hardware. Tighten the bolts and nuts to the manufacturer's recommended torque specifications to prevent any movement or misalignment during operation.
Step 5: Connecting the PTO Shaft
Connect the tractor's PTO shaft to the gearbox input shaft. Ensure that the connection is secure and that there are no obstructions that could interfere with the rotation of the shafts.

Step 6: Testing and Adjustment
Once the gearbox is securely installed, start the tractor and engage the PTO to test the gearbox's operation. Check for any unusual noises or vibrations that could indicate improper installation. Make any necessary adjustments to ensure smooth and efficient operation.
