Installation Steps of Rotary Cutter Gearbox
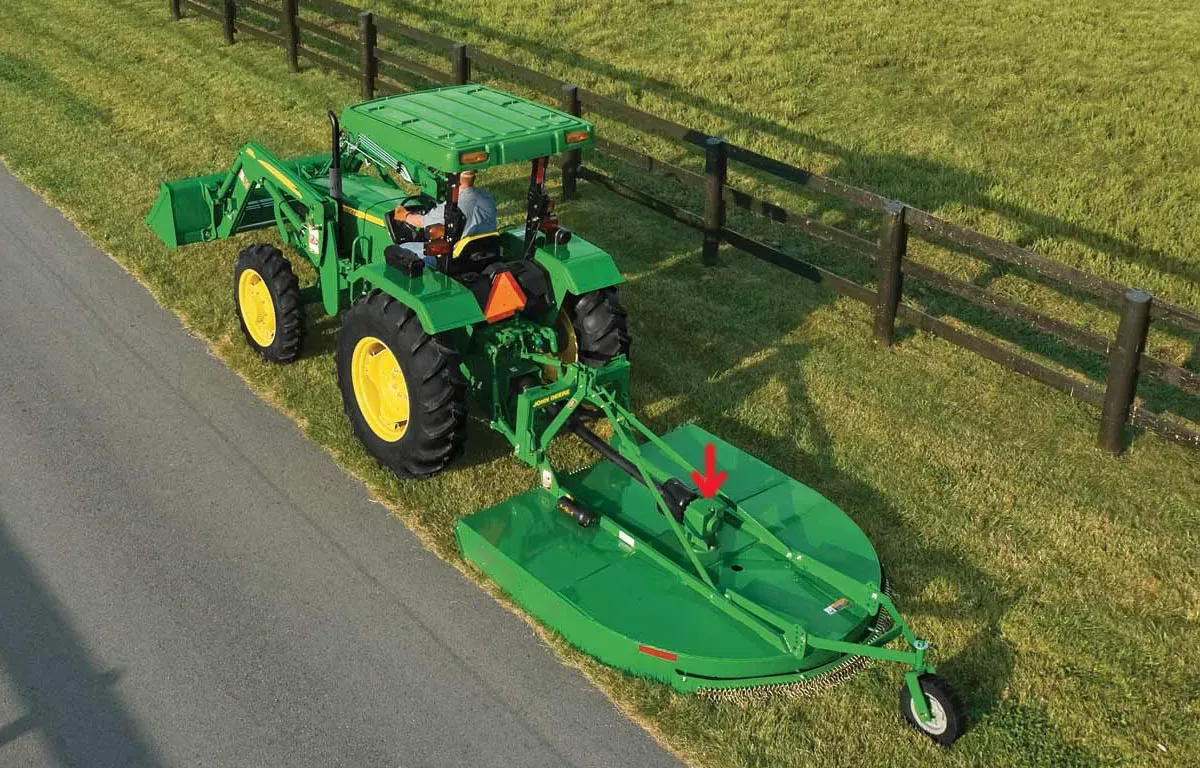
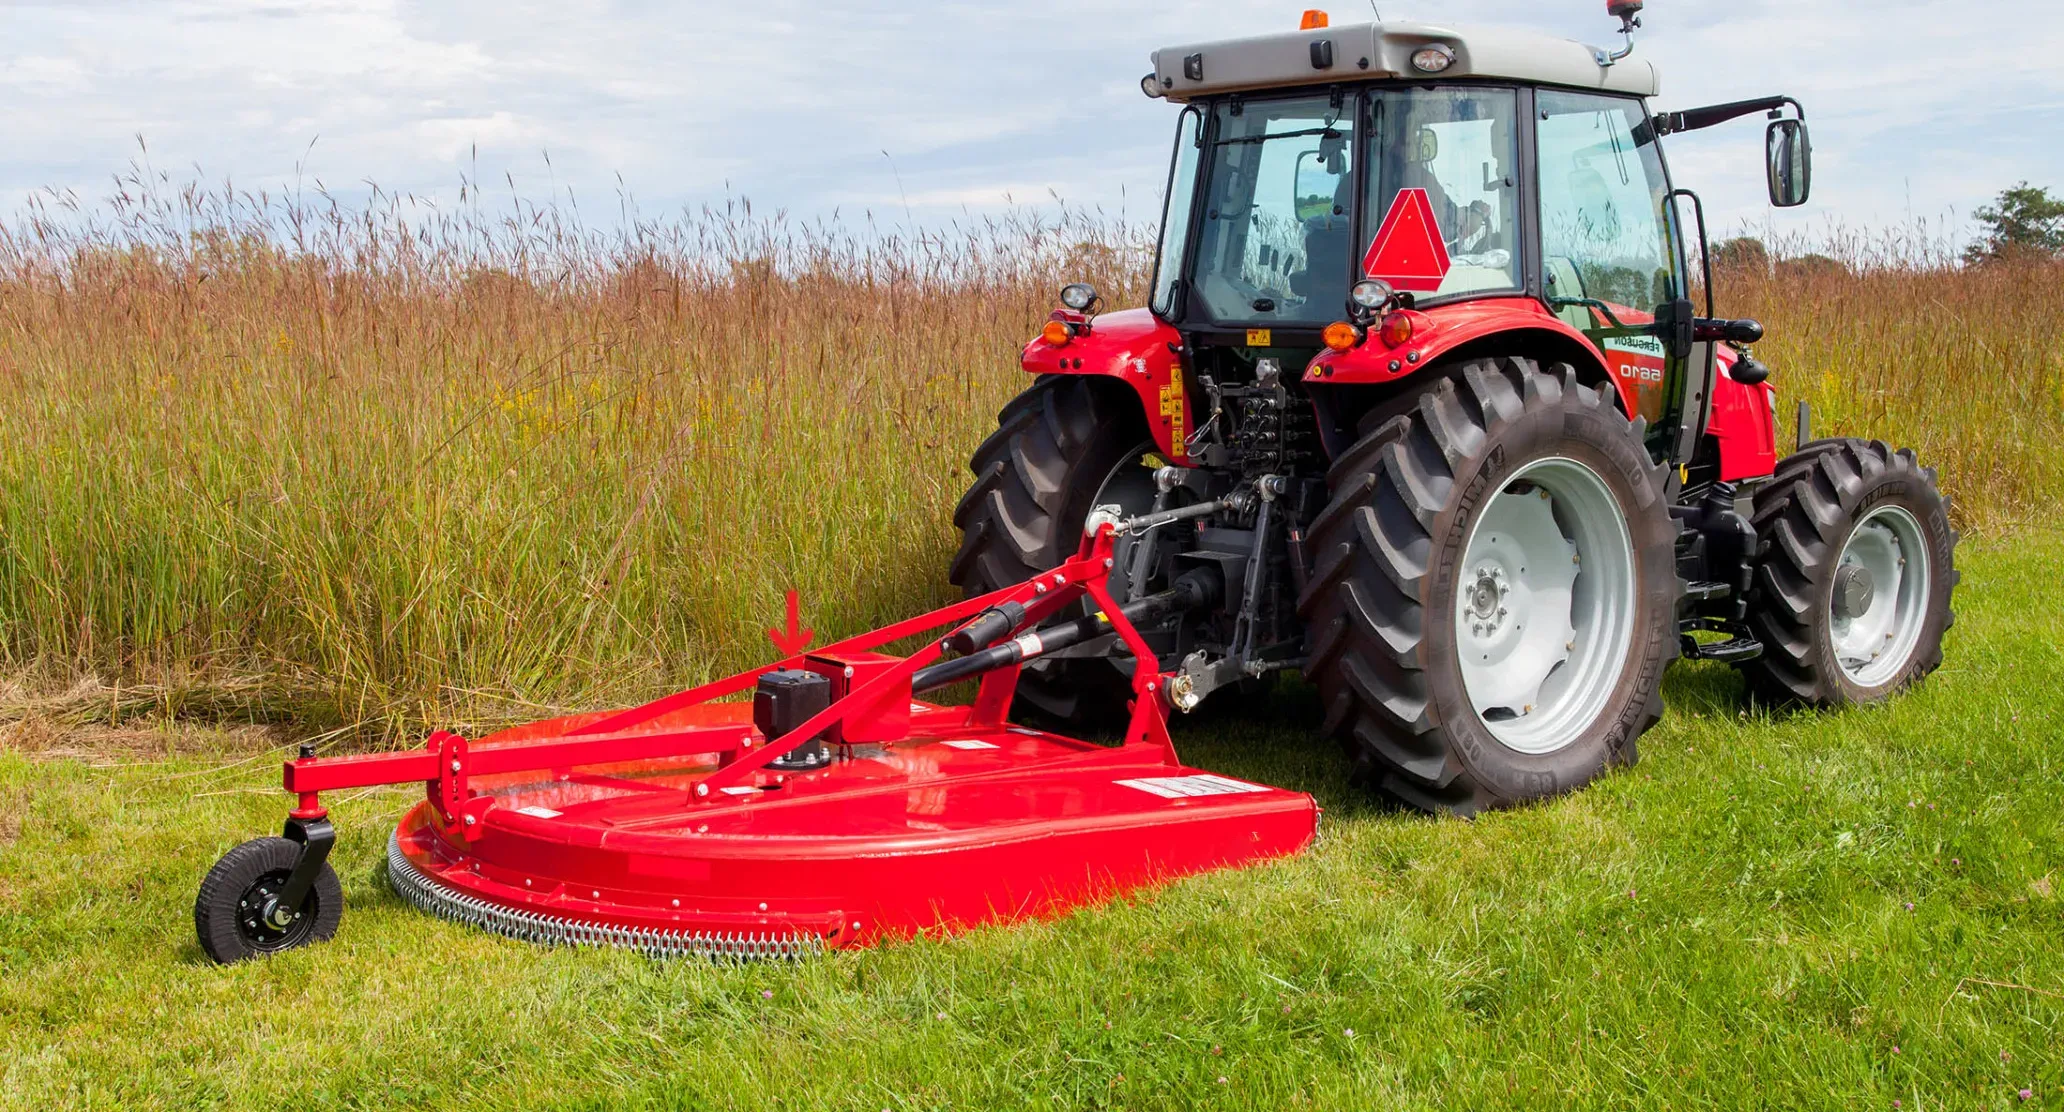
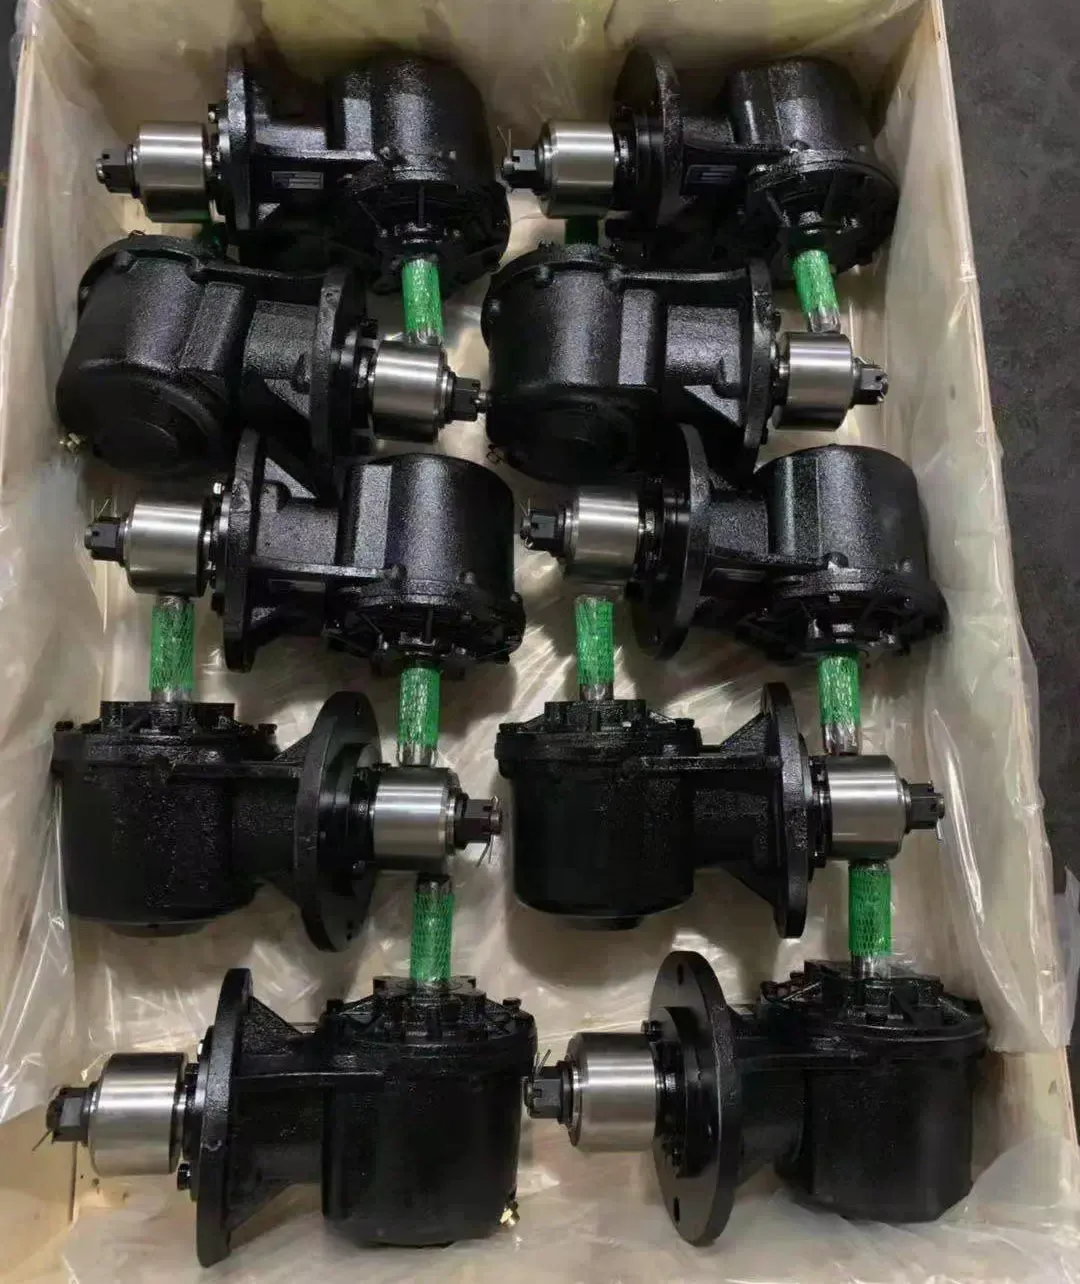
The rotary cutter gearbox is a crucial component for transmitting power from the tractor to the rotary cutter. Here's a detailed guide on how to properly install a rotary cutter gearbox:
Step 1: Prepare the Work Area
Before installation, ensure that the work area is clean and free from any obstructions. Place the gearbox and necessary tools within easy reach.
Step 2: Align the Gearbox
Position the gearbox in alignment with the PTO shaft of the tractor. Ensure that the input shaft of the gearbox is properly positioned to receive power from the tractor.
Step 3: Secure the Gearbox
Use appropriate mounting hardware to secure the gearbox to the frame of the rotary cutter. Ensure that the gearbox is firmly attached and properly aligned.
Step 4: Connect the PTO Shaft
Connect the tractor's PTO shaft to the input shaft of the gearbox. Ensure that the connection is secure and aligned to prevent any slippage during operation.
Step 5: Test the Installation
Before operating the rotary cutter, test the installation by engaging the PTO and observing the gearbox for any unusual noise or vibration. Make any necessary adjustments before full operation.
Step 6: Perform Maintenance Checks
Regularly inspect the gearbox for signs of wear or damage. Follow the proper maintenance procedures to ensure the longevity and optimal performance of the rotary cutter gearbox.