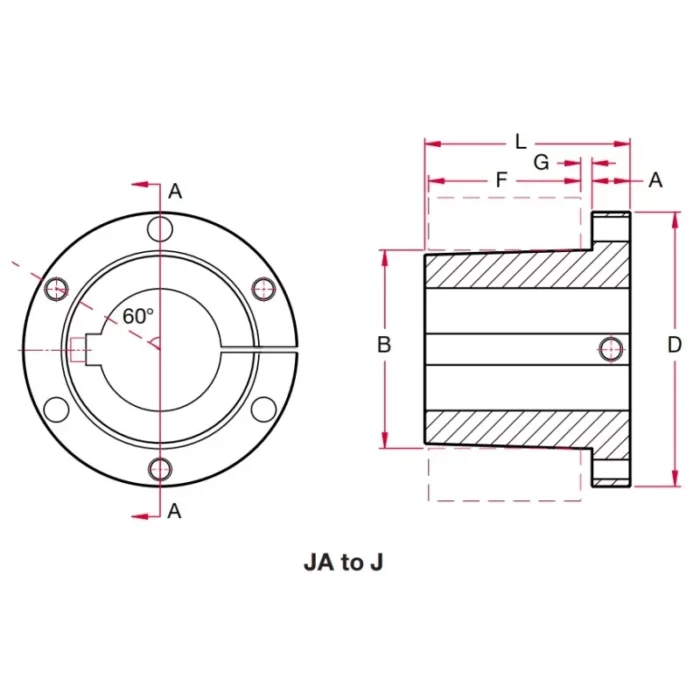
SH Type QD Bushings
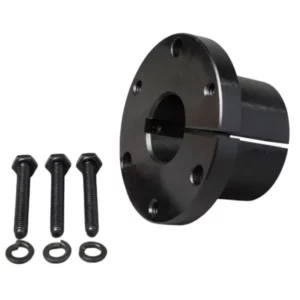
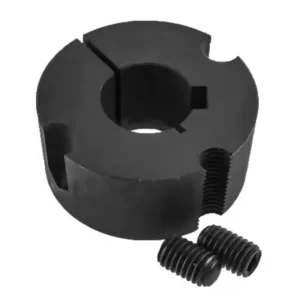
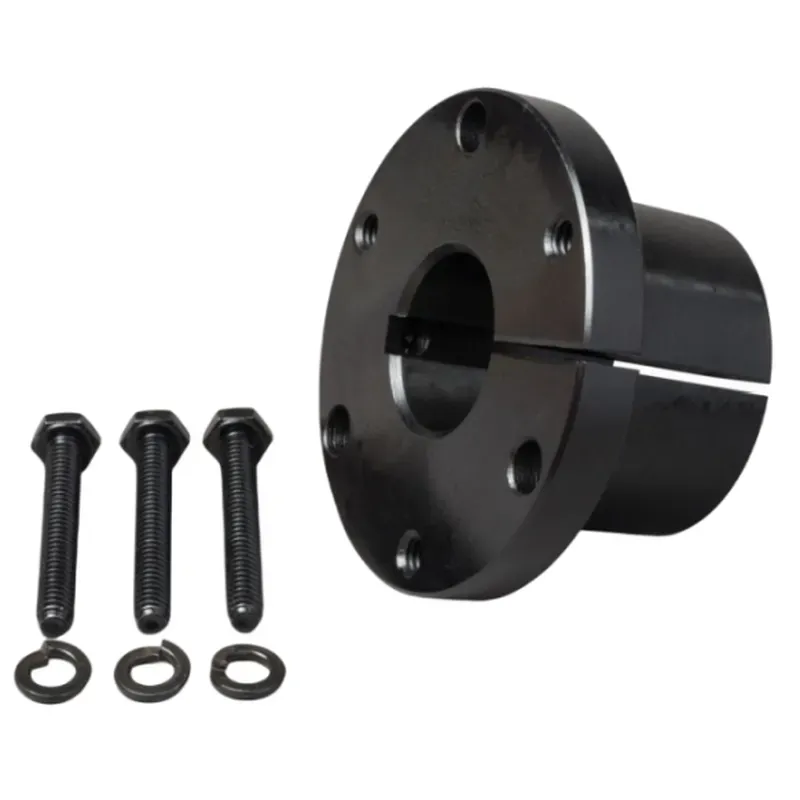
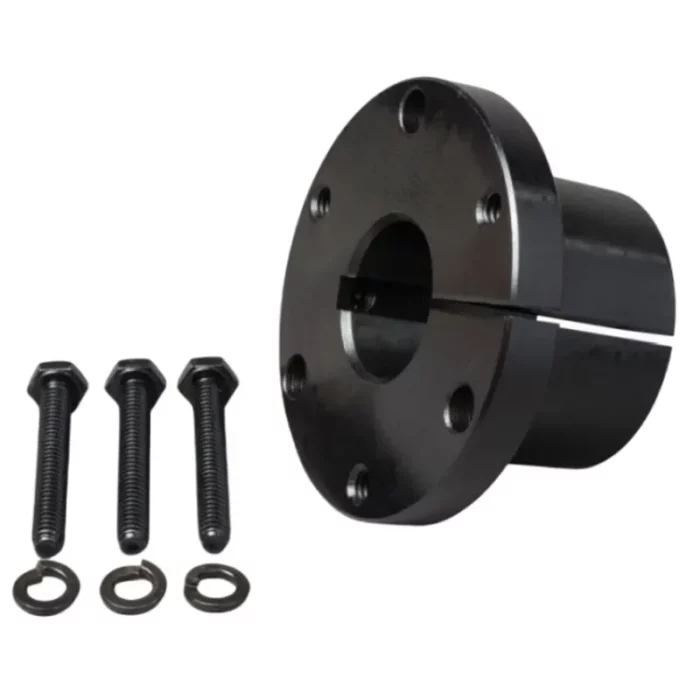
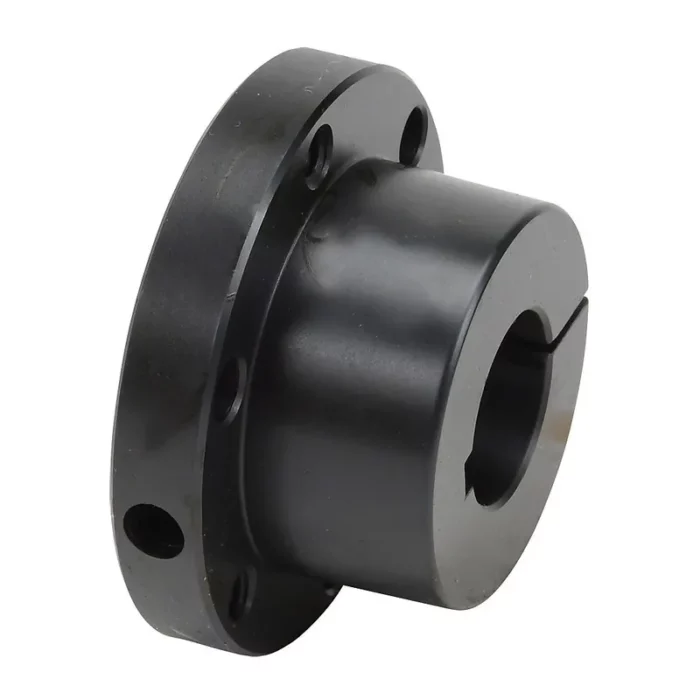
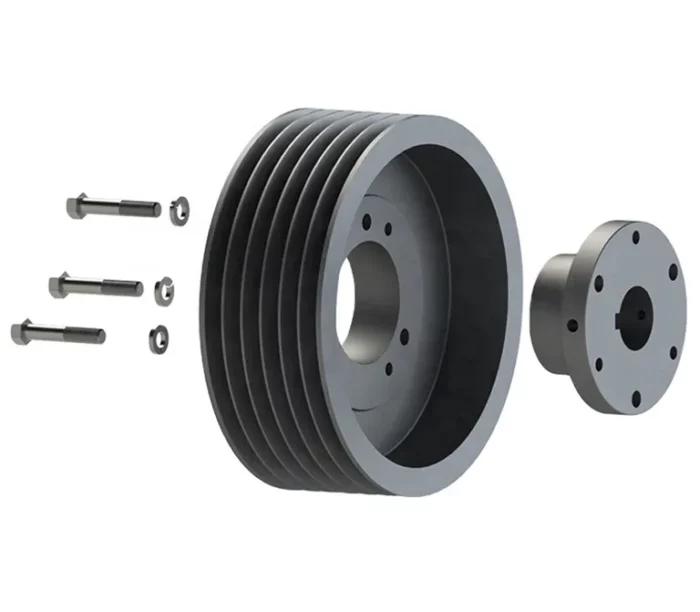
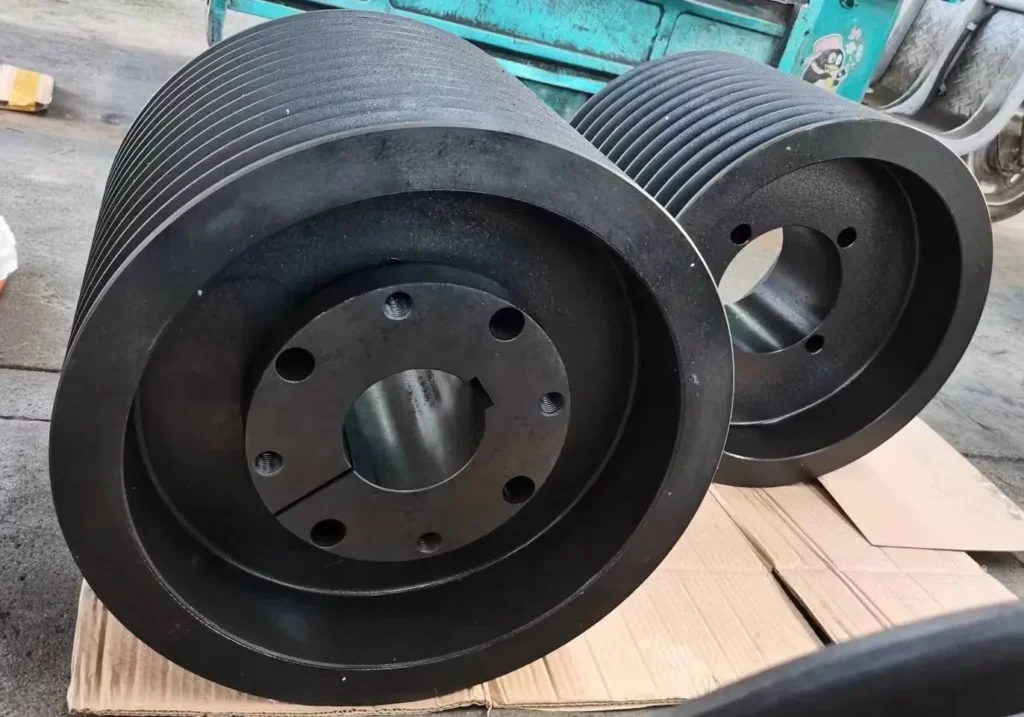
SH type QD (Quick Disconnect) bushings are precision-machined, tapered components used to mount sprockets, pulleys, or sheaves onto shafts. Made typically from steel or cast iron, they feature a flanged design with a 4-degree taper and a split through the flange for easy installation and removal. Cap screws secure the bushing, creating a tight press fit on the shaft, while reverse-threaded holes allow effortless disassembly. Available in inch and metric bore sizes, SH bushings ensure flexibility, reliable torque transmission, and compatibility with various shaft diameters.
SH type QD (Quick Disconnect) bushings are precision-machined, tapered components used to mount sprockets, pulleys, or sheaves onto shafts. Made typically from steel or cast iron, they feature a flanged design with a 4-degree taper and a split through the flange for easy installation and removal. Cap screws secure the bushing, creating a tight press fit on the shaft, while reverse-threaded holes allow effortless disassembly. Available in inch and metric bore sizes, SH bushings ensure flexibility, reliable torque transmission, and compatibility with various shaft diameters.
SH Type QD Bushing Dimensions
 |  |
| QD Bushing Type: | SH | |
| Dimensions(in): | A | 7/16 |
| B | 1.871 | |
| D | 2-11/16 | |
| E | 7/8 | |
| F | 13/16 | |
| G | 3/16 | |
| L | 1-5/16 | |
| Bolt Circle (in): | 2-1/4 | |
| Stock Bore Range(in): | Min. | 1/2 |
| Max. | Standard Keyway 1-3/8 Shallow Keyway 1-5/8 No Keyway 1-11/16 | |
| Cap Screws Included: | No. | 3 |
| Thread | 1/4-20 | |
| Length (in) | 1-3/8 | |
| Set Screw Size: | 1/4 | |
| Wrench-Torque (in-Ibs): | 108 | |
| Approx.Weight (Ibs): | 1.0 | |
Key Benefits of SH Type QD Bushings
SH type QD bushings offer several advantages for mounting pulleys, sprockets, or sheaves in power transmission systems. Here are the key benefits:
- Ease of Installation and Removal: SH Type QD bushings are designed for quick and straightforward installation, requiring only basic tools to secure them to a shaft. Their split flange and tapered design allow for a positive clamp, ensuring a tight fit without complex procedures. Removal is equally simple, as the reverse-threaded cap screws facilitate easy disassembly.
- Strong and Reliable Clamping Force: The tapered bore of SH Type QD bushings creates a self-tightening effect when cap screws are tightened, providing a robust clamp on the shaft. This ensures minimal slippage, even under high-torque conditions, maintaining alignment and power transmission efficiency.
- Versatility Across Shaft Sizes: SH Type QD bushings are available in a wide range of bore sizes, typically from 1/2 inch to 1-11/16 inches, accommodating various shaft diameters. This flexibility allows them to be used with different sprockets, pulleys, or sheaves, making them adaptable to diverse applications.
- Enhanced Durability and Strength: Constructed from materials like carbon steel, ductile iron, or sintered steel, SH Type QD bushings offer excellent resistance to wear, corrosion, and mechanical stress. The robust build ensures they can handle high loads and harsh operating conditions, providing long-term reliability.
- Reduced Maintenance Downtime: The quick-disconnect feature of SH Type QD bushings allows for rapid component changes without extensive disassembly of machinery. This minimizes maintenance time, enabling faster repairs or adjustments and reducing production interruptions. The design also eliminates the need for lubricants during installation, simplifying the process and preventing contamination in sensitive applications.
SH Type QD Bushing Installation Steps
Installing an SH type quick detachable bushing requires careful attention to ensure a secure fit and proper alignment without damaging components. Here’s a straightforward guide to the installation process:
1. Prepare the Components:
- Ensure the bushing, shaft, and mating parts (sprocket, pulley, or sheave) are clean and free of dirt, grease, or debris. Avoid using lubricants or anti-seize compounds on the tapered surfaces or bolt threads, as they can reduce grip and cause slippage.
- Verify that the bore size of the bushing matches the shaft and that the keyway aligns properly.
2. Align the Bushing and Mating Parts:
- Place the QD bushing into the hub of the sprocket, pulley, or sheave. Align the clearance (unthreaded) holes in the mating part with the threaded holes in the bushing flange. The bushing’s tapered surface should match the taper of the hub for a snug fit.
- Ensure the bushing is oriented correctly—typically, the flange faces outward for conventional mounting or inward for reverse mounting, depending on your setup.
3. Insert Cap Screws:
- Loosely insert the provided cap screws with lock washers through the clearance holes in the mating part and into the threaded holes in the bushing. Finger-tighten them to hold the assembly together.
- Confirm the bushing is fully expanded (not gripping the shaft yet) to allow it to slide freely during positioning.
4. Position on the Shaft:
- Slide the bushing and mating part assembly onto the shaft, aligning the key in the shaft’s keyway with the bushing’s keyway. Position the assembly to achieve proper drive alignment.
- If needed, use a straightedge or laser tool to ensure the pulley or sprocket aligns with other drive components.
5. Tighten the Cap Screws:
- Gradually tighten the cap screws in an alternating pattern (like a star pattern for even pressure) using an Allen wrench. Apply steady, moderate force to avoid uneven tightening, which could misalign the bushing.
- Tighten to the manual’s recommended torque value, typically provided in the bushing’s documentation. Over-tightening can damage the bushing or hub, so use a torque wrench if specified.
6. Secure the Setscrew (if applicable):
- If the bushing has a set screw over the keyway, tighten it gently with an Allen wrench to secure the bushing to the shaft. Avoid excessive force to prevent stripping or deforming the key.
7. Check the Fit:
- Ensure a small gap (usually 1/8 to 1/4 inch) remains between the bushing flange and the mating part, indicating proper taper engagement. The bushing should grip the shaft tightly without wobbling.
- Verify alignment again and confirm the assembly spins freely without interference.
Additional information
| Edited by | Yjx |
|---|